Bell Rim Replacement
I occasionally get inquiries for information on replacing bell rims for a variety of reasons. Fabrice Wambergue of Atelier W, outside of Paris, wanted to know my technique both for repairing instruments with broken and ragged rims as well as reducing rim size for aesthetic purposes. He was considering modifying a Besson cornet into a pocket version, like I did for Nick DeCarlis. I did my best to describe the process to him, but I had never taken photos to use as a visual aid. Now that I've finally remembered to take the time to record images, it is time to present this here.
The assumption is usually that to form a rim would be to roll the bell around a wire as in most new instruments. There are a number of reason that this isn't ideal or even possible in most cases of previously finished bells. To roll the bell metal over a wire, the bell would normally be mounted on the mandrel on which it was made and spinning on a lathe. While it would be possible to make some sort of temporary mandrel from wood or plastic, this would only be possible with straight bells sections. Also, it would reduce the diameter of the rim by about 3/4" (3/8" each side), which in a repair would be unacceptable. Steve Dillon of Dillon Music tells me that they paid a machinist to build a beading machine, similar to what is used in automobile body fabrication to form a new rim. This is used mostly to reduce the rim diameter of some of the huge American BBb tubas to agree with our more modern sensibilities.
The method that I'm showing here involves soft soldering a brass rod to the edge of the rim. Your first thought might be that this would not be a very strong joint, but my experience, refinishing tubas for schools back in the 1980s, that no matter how badly the kids smashed the bells, I never saw one of these rims come loose. These were mostly Mirafone 186 tubas, where the garland (kranz) has become unrepairable, so a soldered on 1/4" rim was an inexpensive alternative to replacing the bell.
This was one of the many jobs that was first described to me by Larry Minick, in the early 1980s, when I went to him for help in restoring an antique with a ragged rim. Patches can be applied to hold it together, but this particular one had chunks missing most of the way around. If care is taken, it may be possible for the finished rim diameter to be the same as the original. A few cracks or even gaps left in the bell metal near the rim will be held together securely by the brass rod. This isn't a technique to be used on instruments of great historic importance, but rather ordinary old horns. This is also the technique used to attach the new bell rims on the Caduceus cornet and the Besson mentioned earlier.
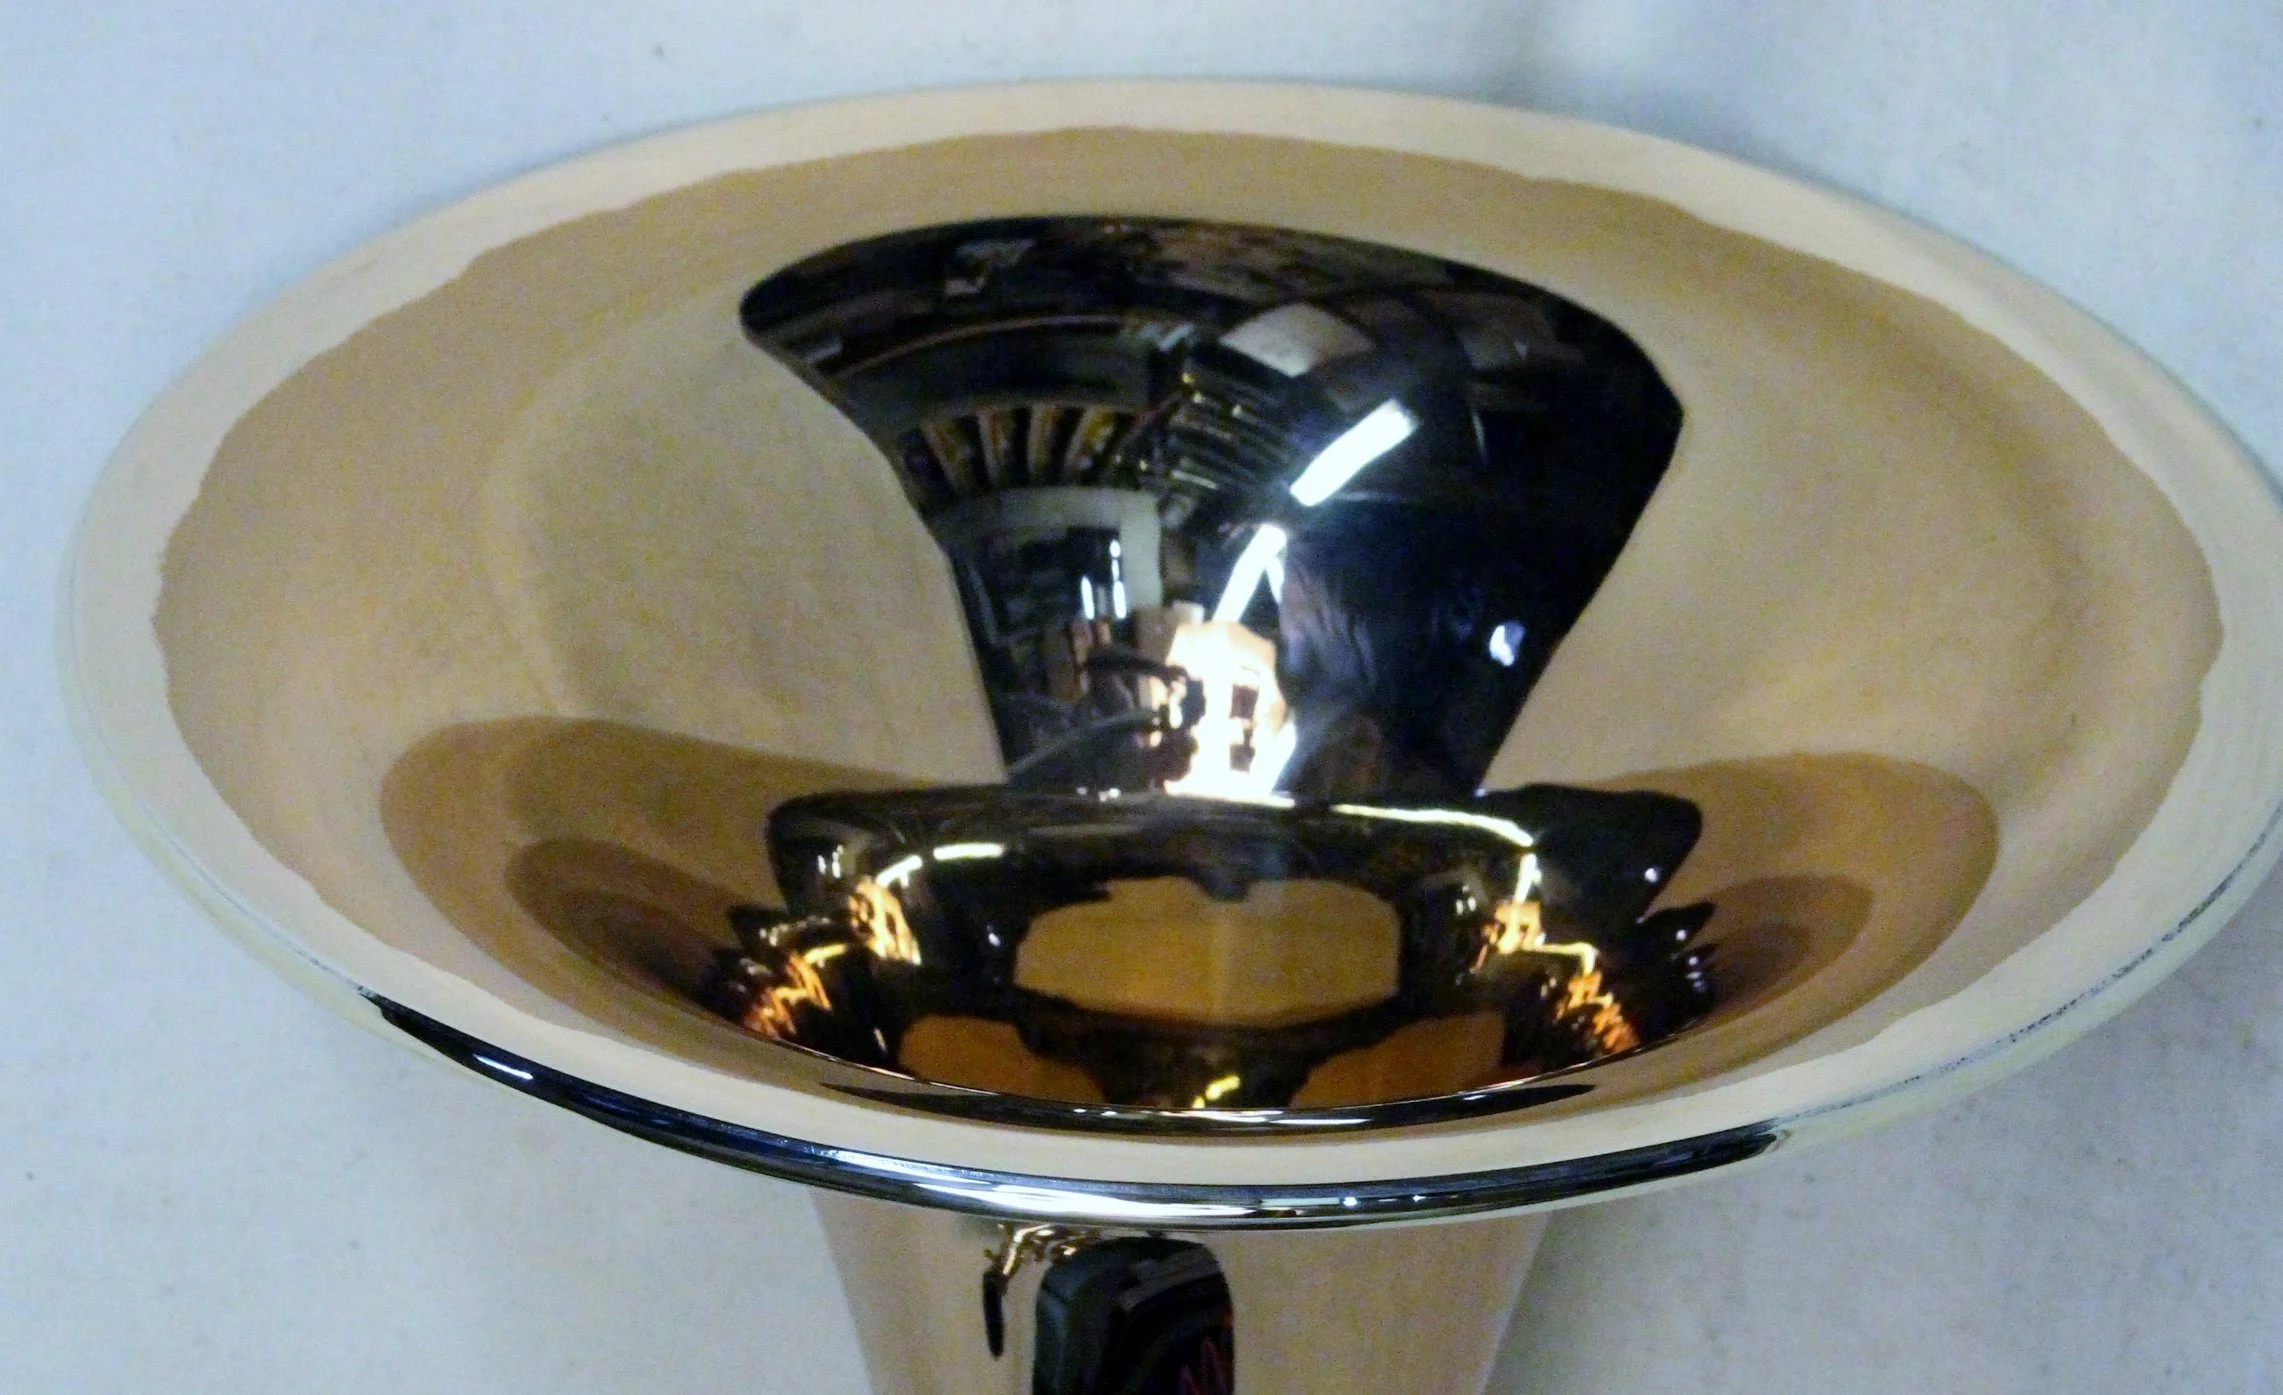
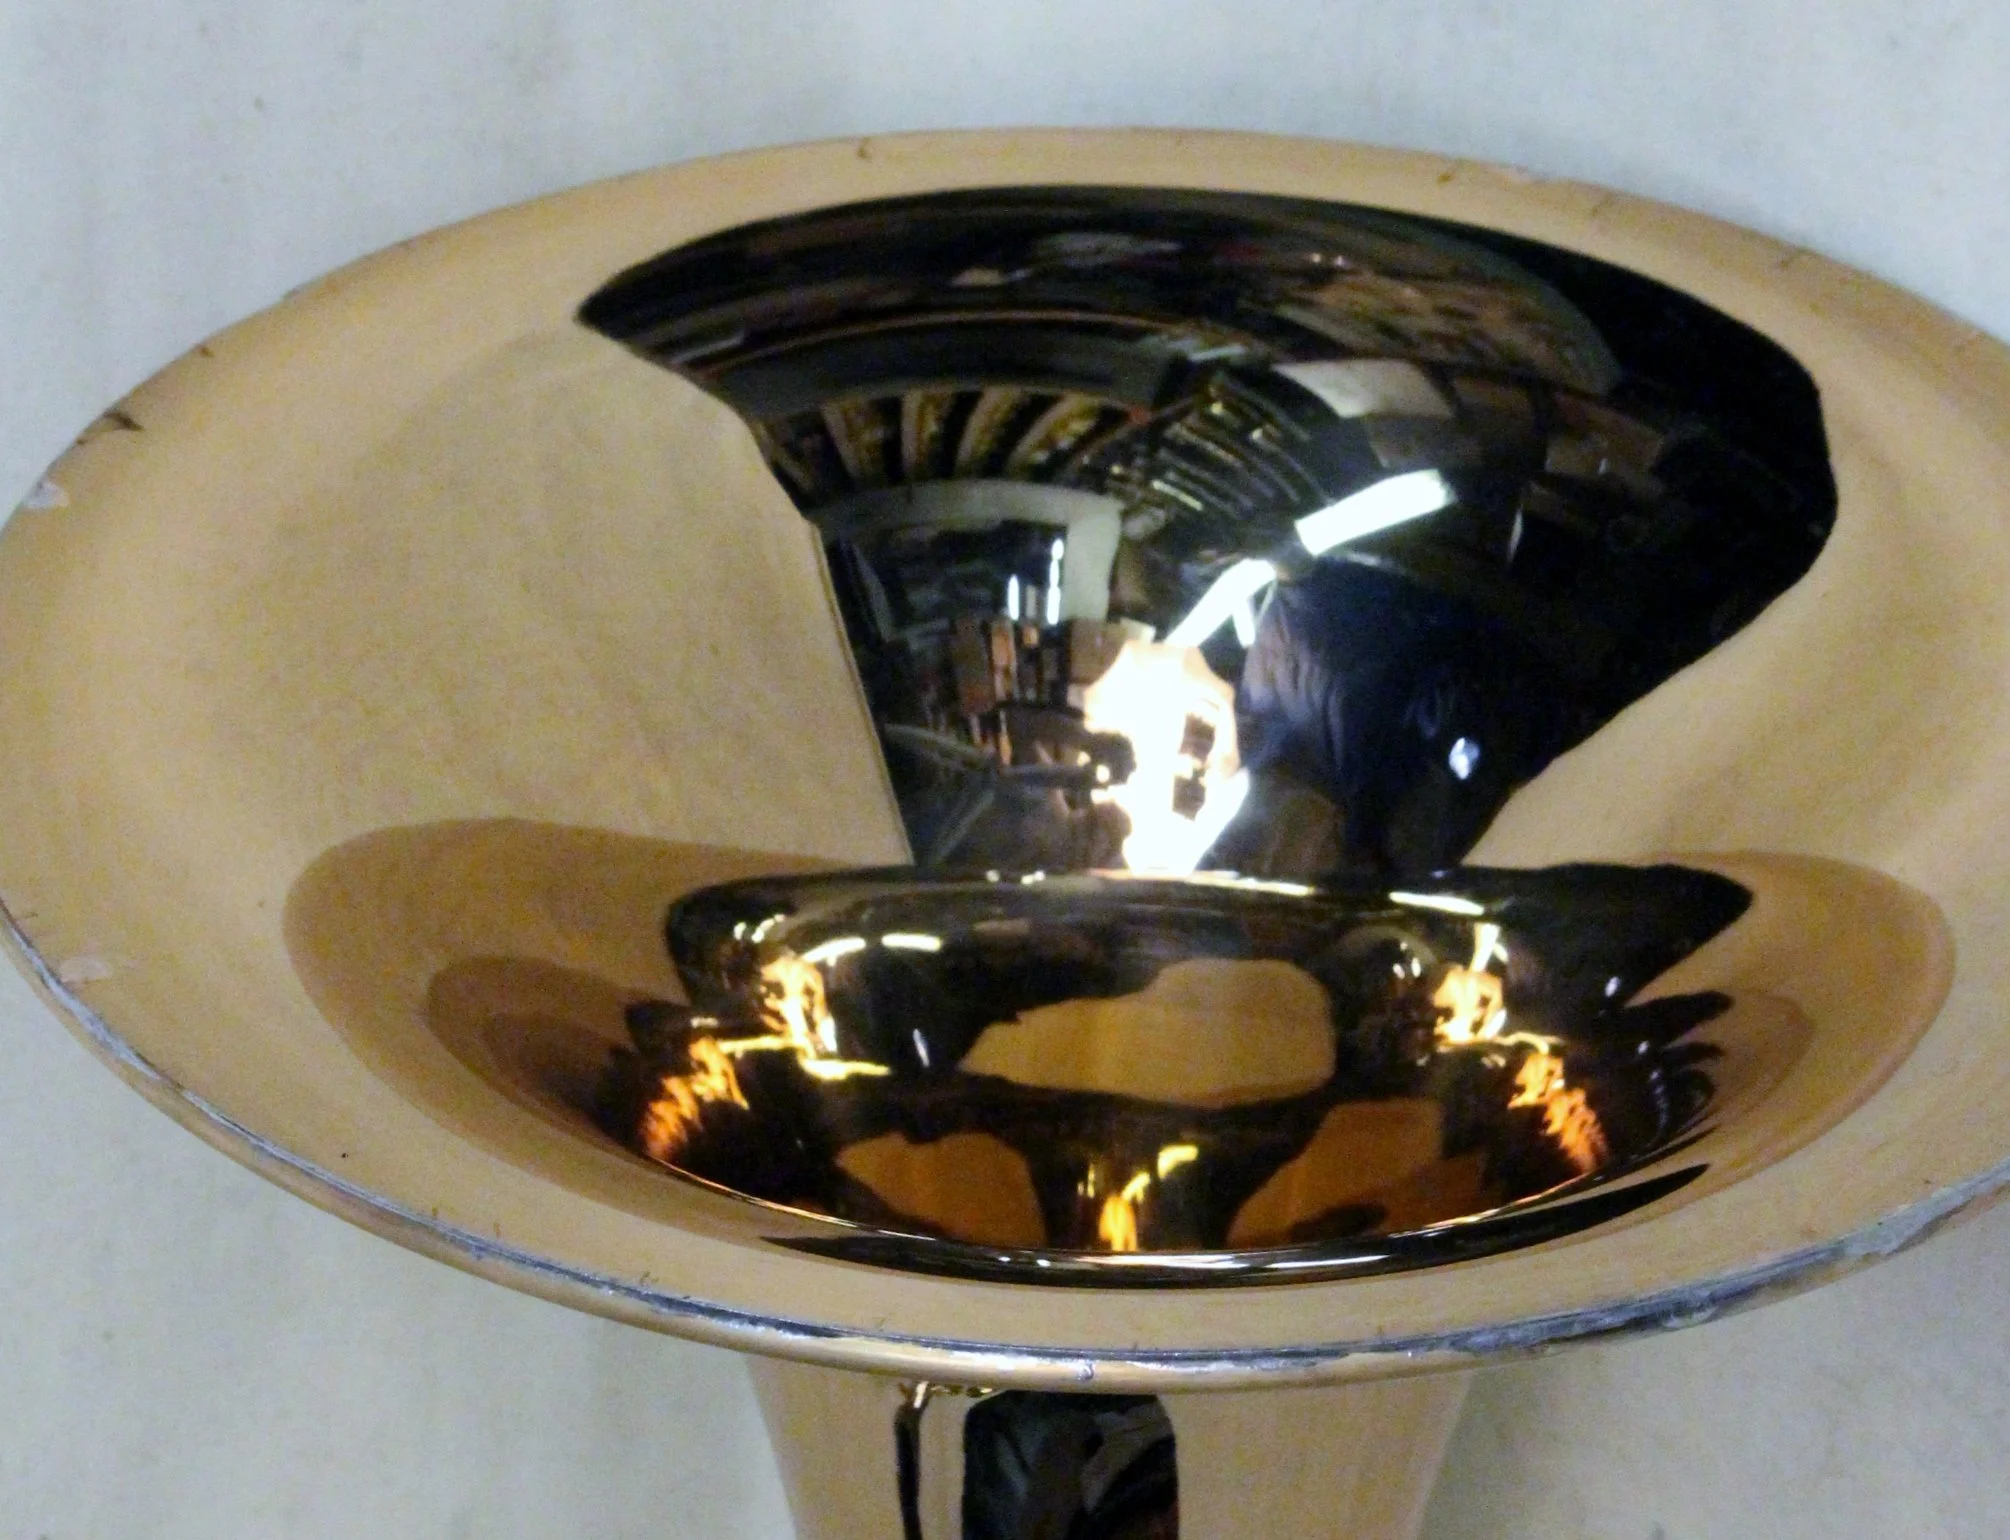
The photos show the application of a new rim on a bass trombone, on which the customer wanted it smaller than the original. In this case the lacquer had to be stripped back just far enough for the soldering. If the diameter of the new rim is to be smaller than the original, score a line using a caliper, divider or other marking tool before removing the old rim. This will aid in getting it both round and concentric.
The quickest way to remove the old rim is with a band saw, but on delicate antiques, where I don't want the rim any smaller than it has to be, I use a belt sander to cut through the outer diameter until the wire can be removed and the edge cleaned up. The rod used for the new rim should be annealed first and then carefully bent into the right size circle. It will take a little trial and error, but not with much difficulty. The ends of this rod is then cut and filed until a good butt joint can be made and then silver soldered together. Then a little more truing of the circle and flattening will be necessary.
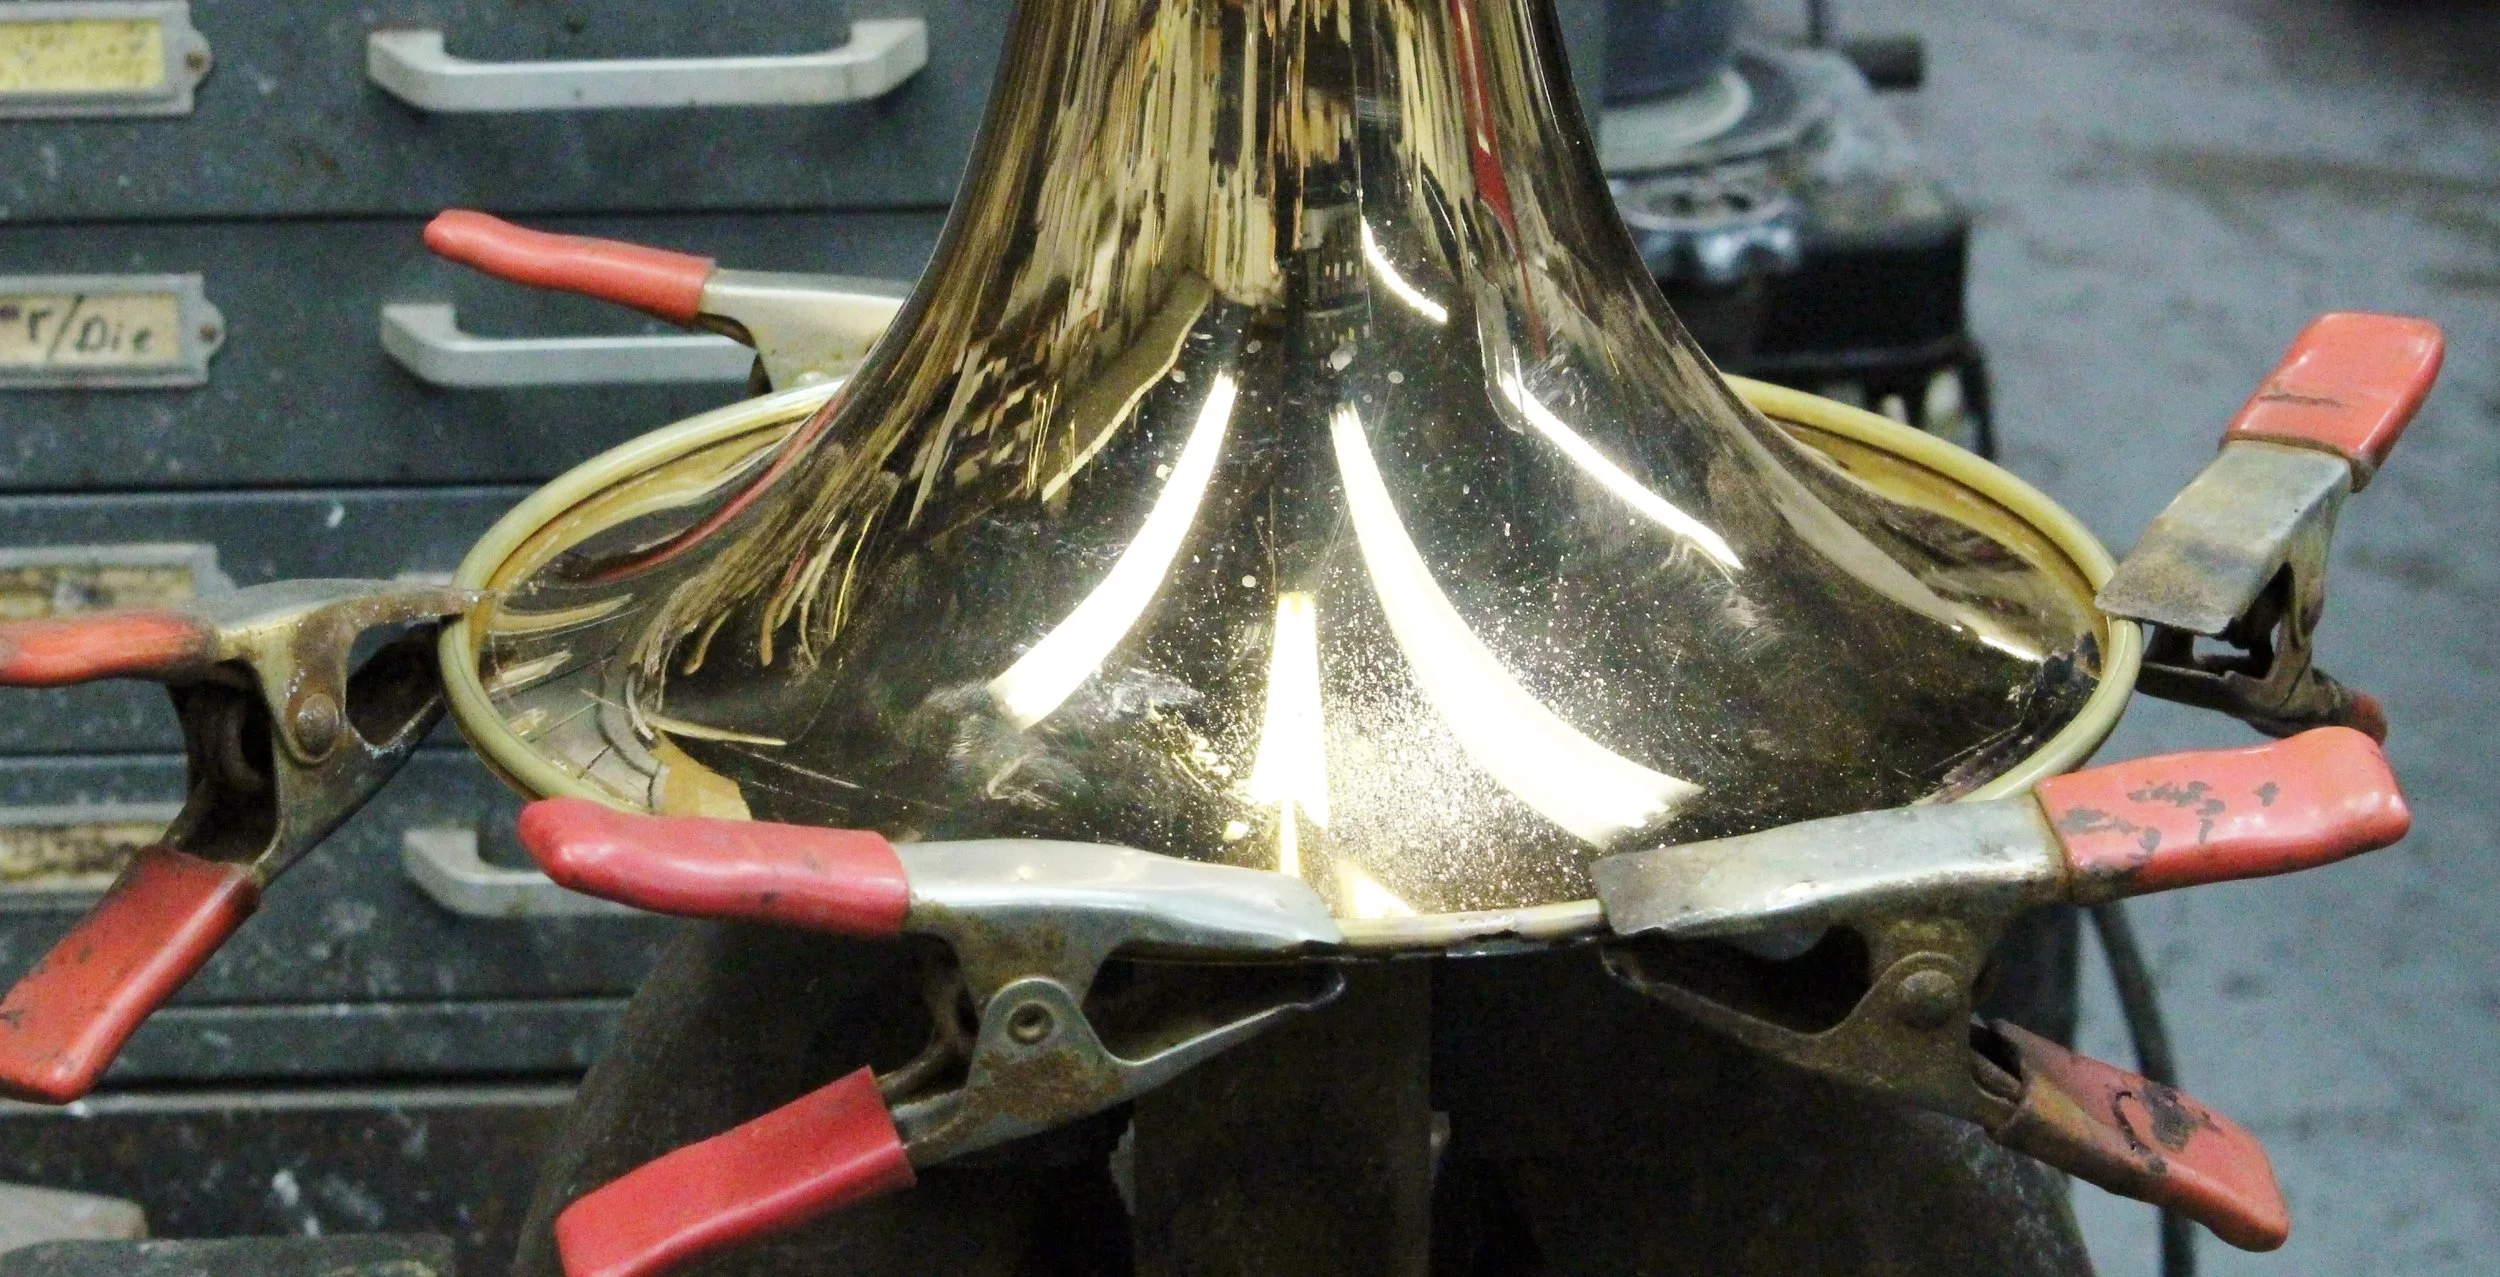
The idea of clamping the rim all the way around for soldering may seem daunting, but is surprisingly simple. I use enough clamps to hold it in place don't worry about making contact the whole way around yet. Two clamps are then placed close enough together (as in the second photo) to get the rim and bell metal make contact between them. Proceed to solder just this length. Re-position the clamps to an adjacent length, again making sure of the contact between them and solder that. Continue this way until it is completely attached and then rinse thoroughly.

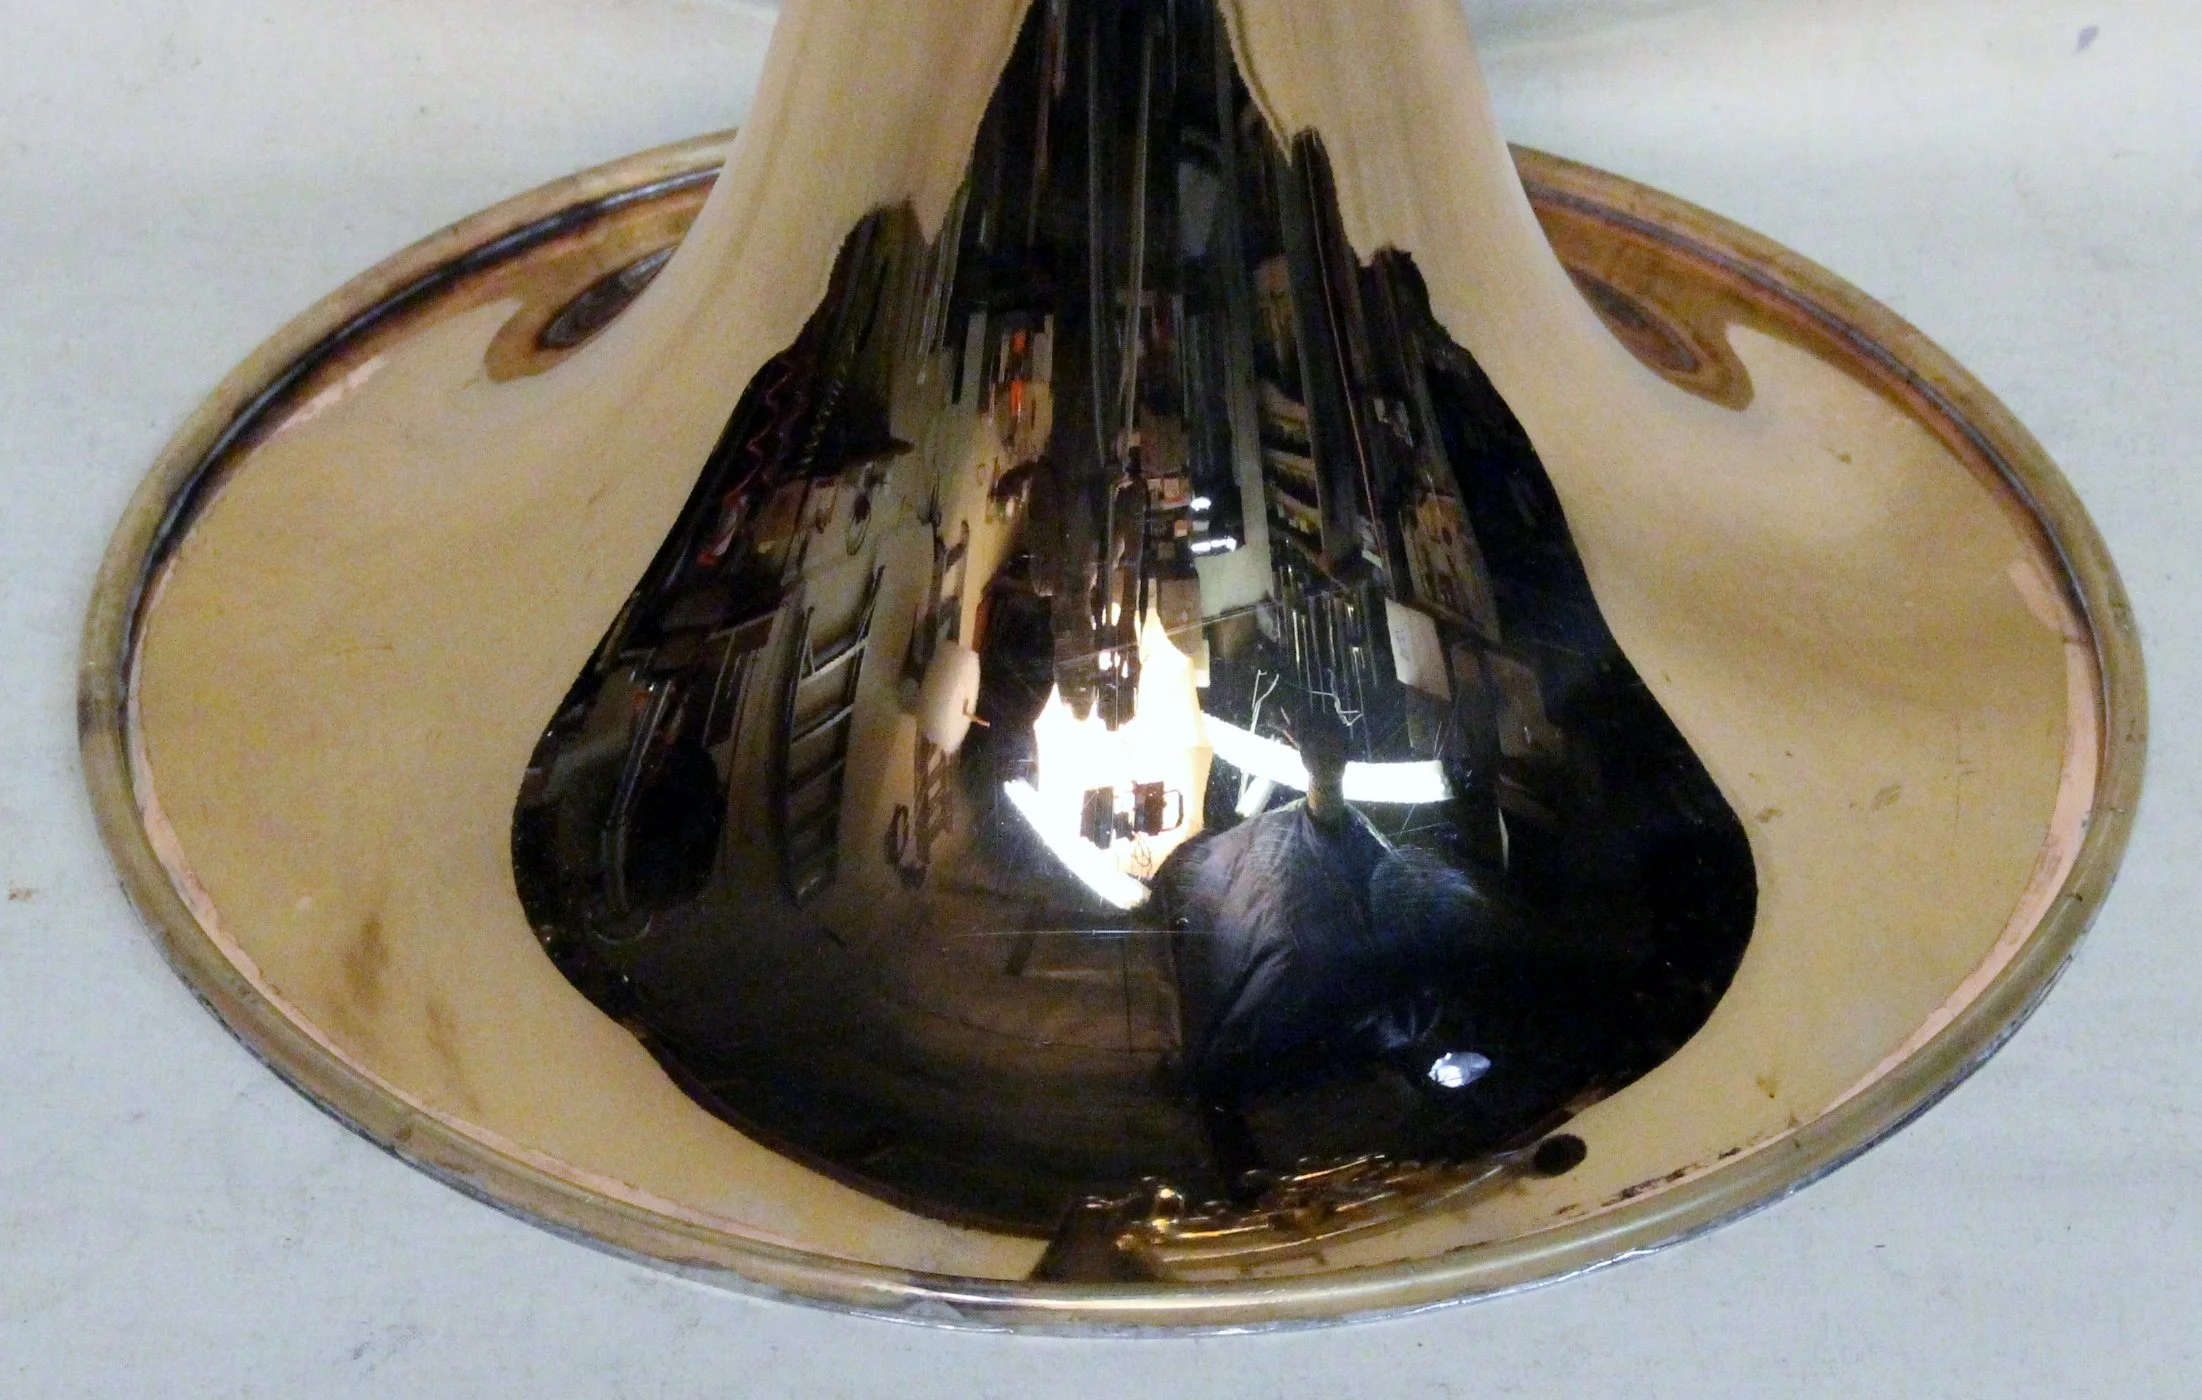
In this example, only a little damage was done to the lacquer, which will be touched up in the end. The third and fourth photos show that the bell edge extends slightly beyond the point of contact and solder bead. This is removed using the belt sander and dressed down somewhat curved and feathering into the rim as shown before polishing in the fifth photo.
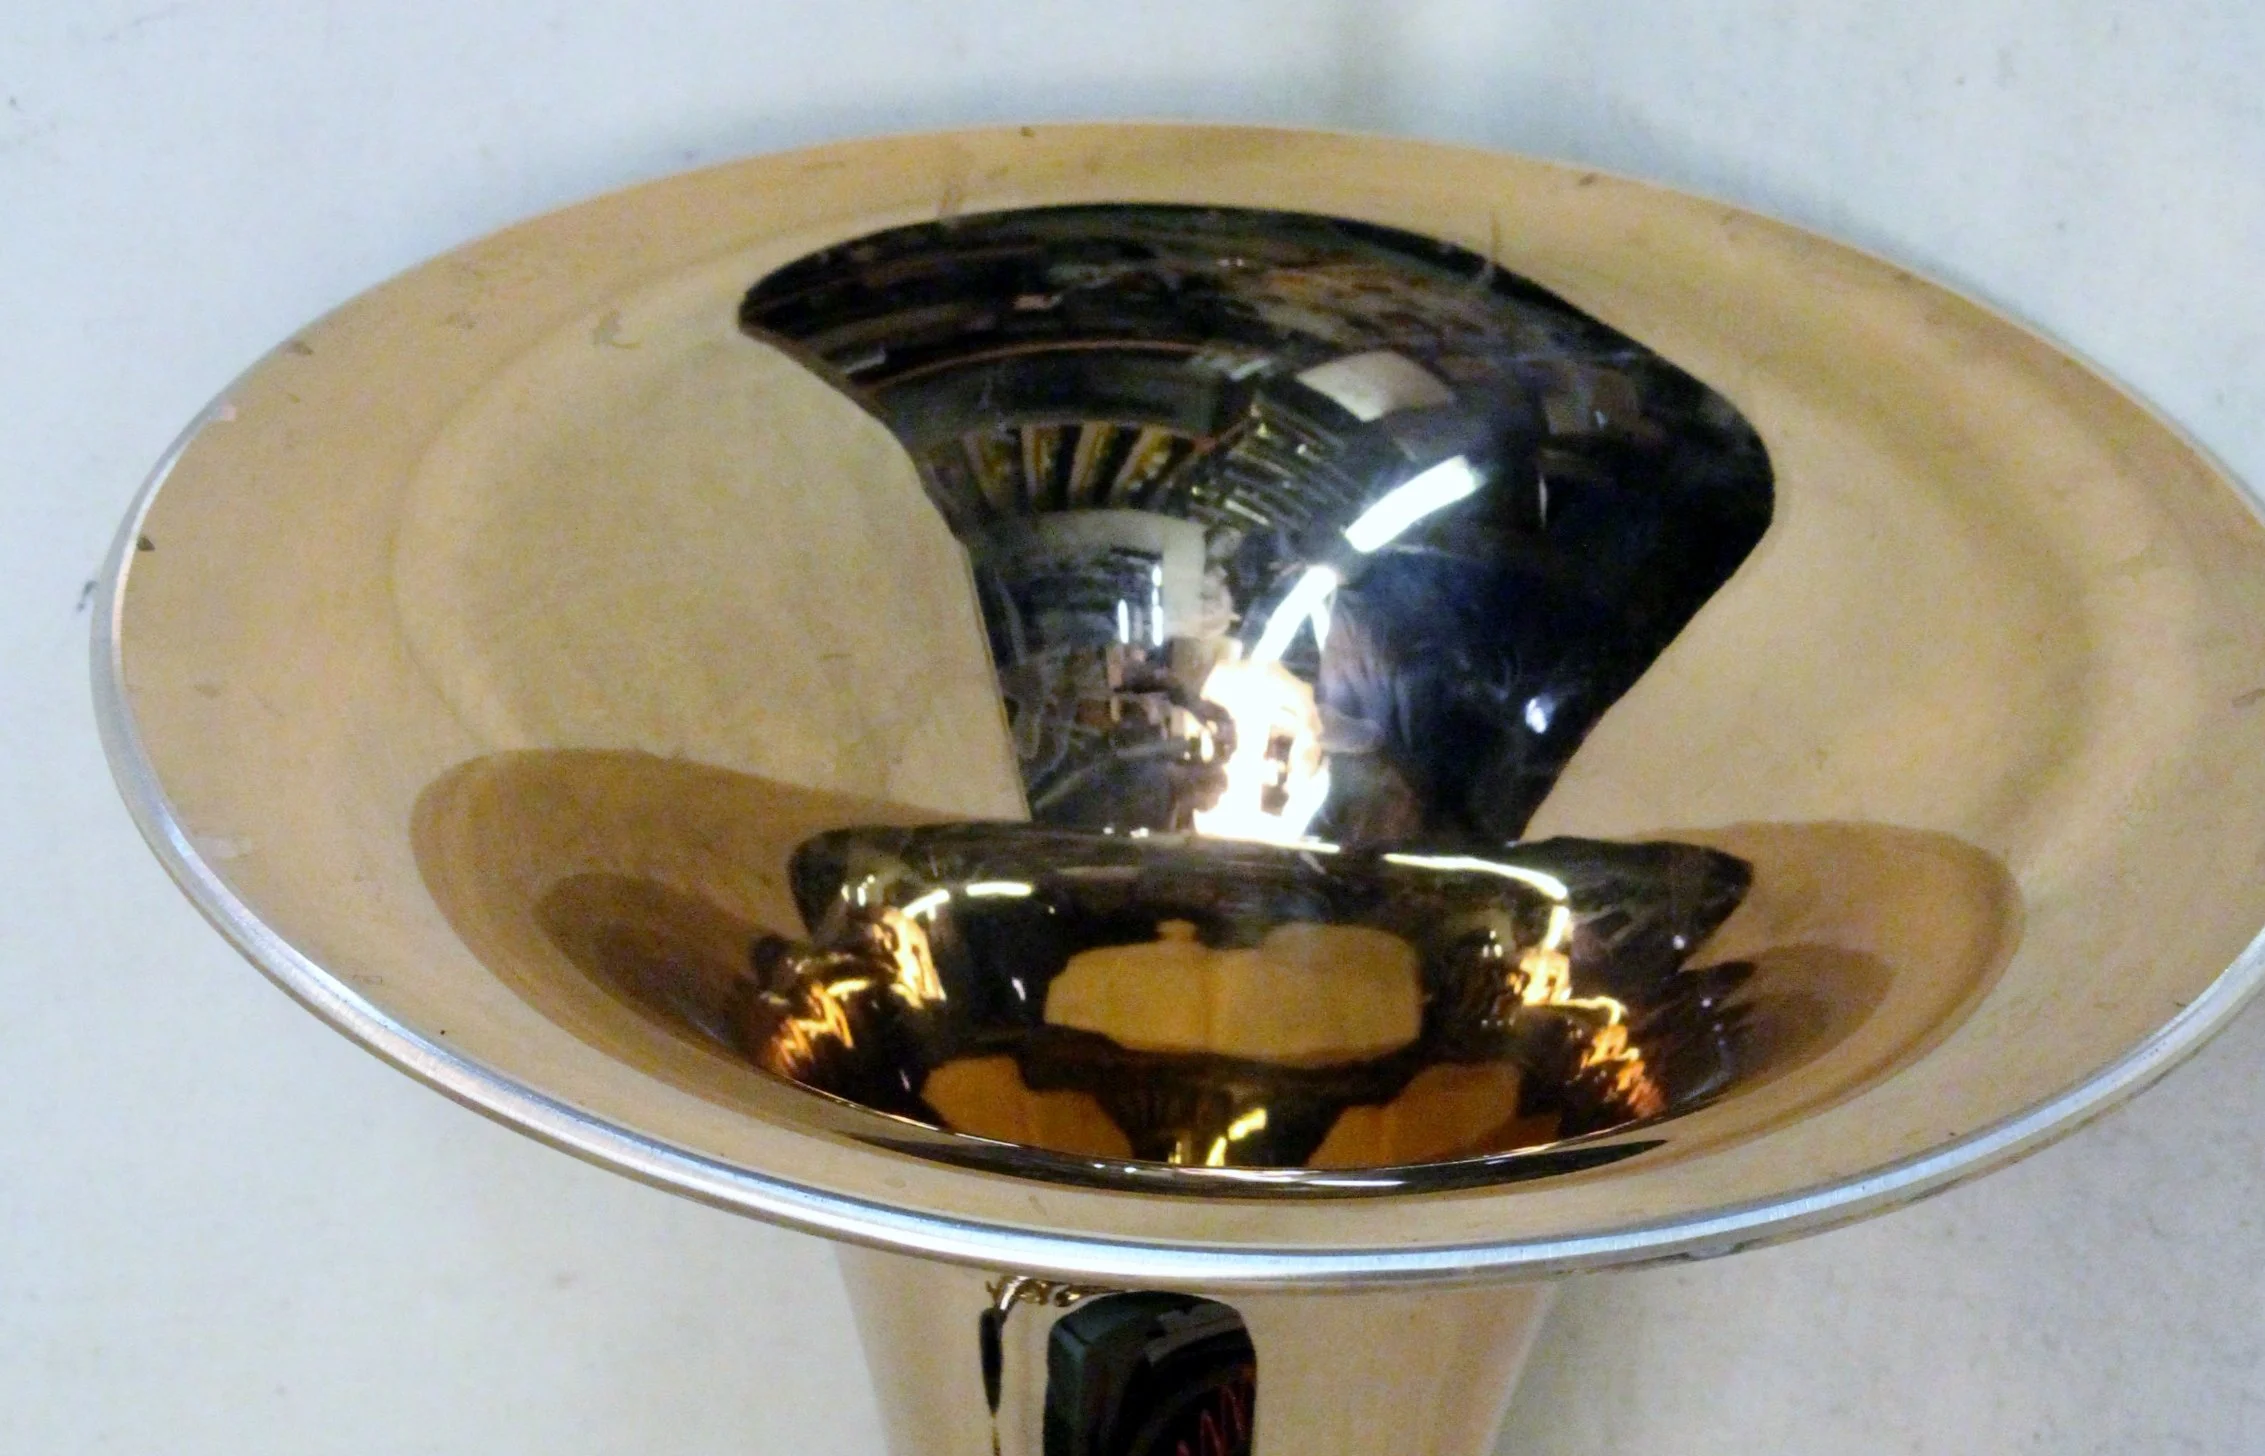
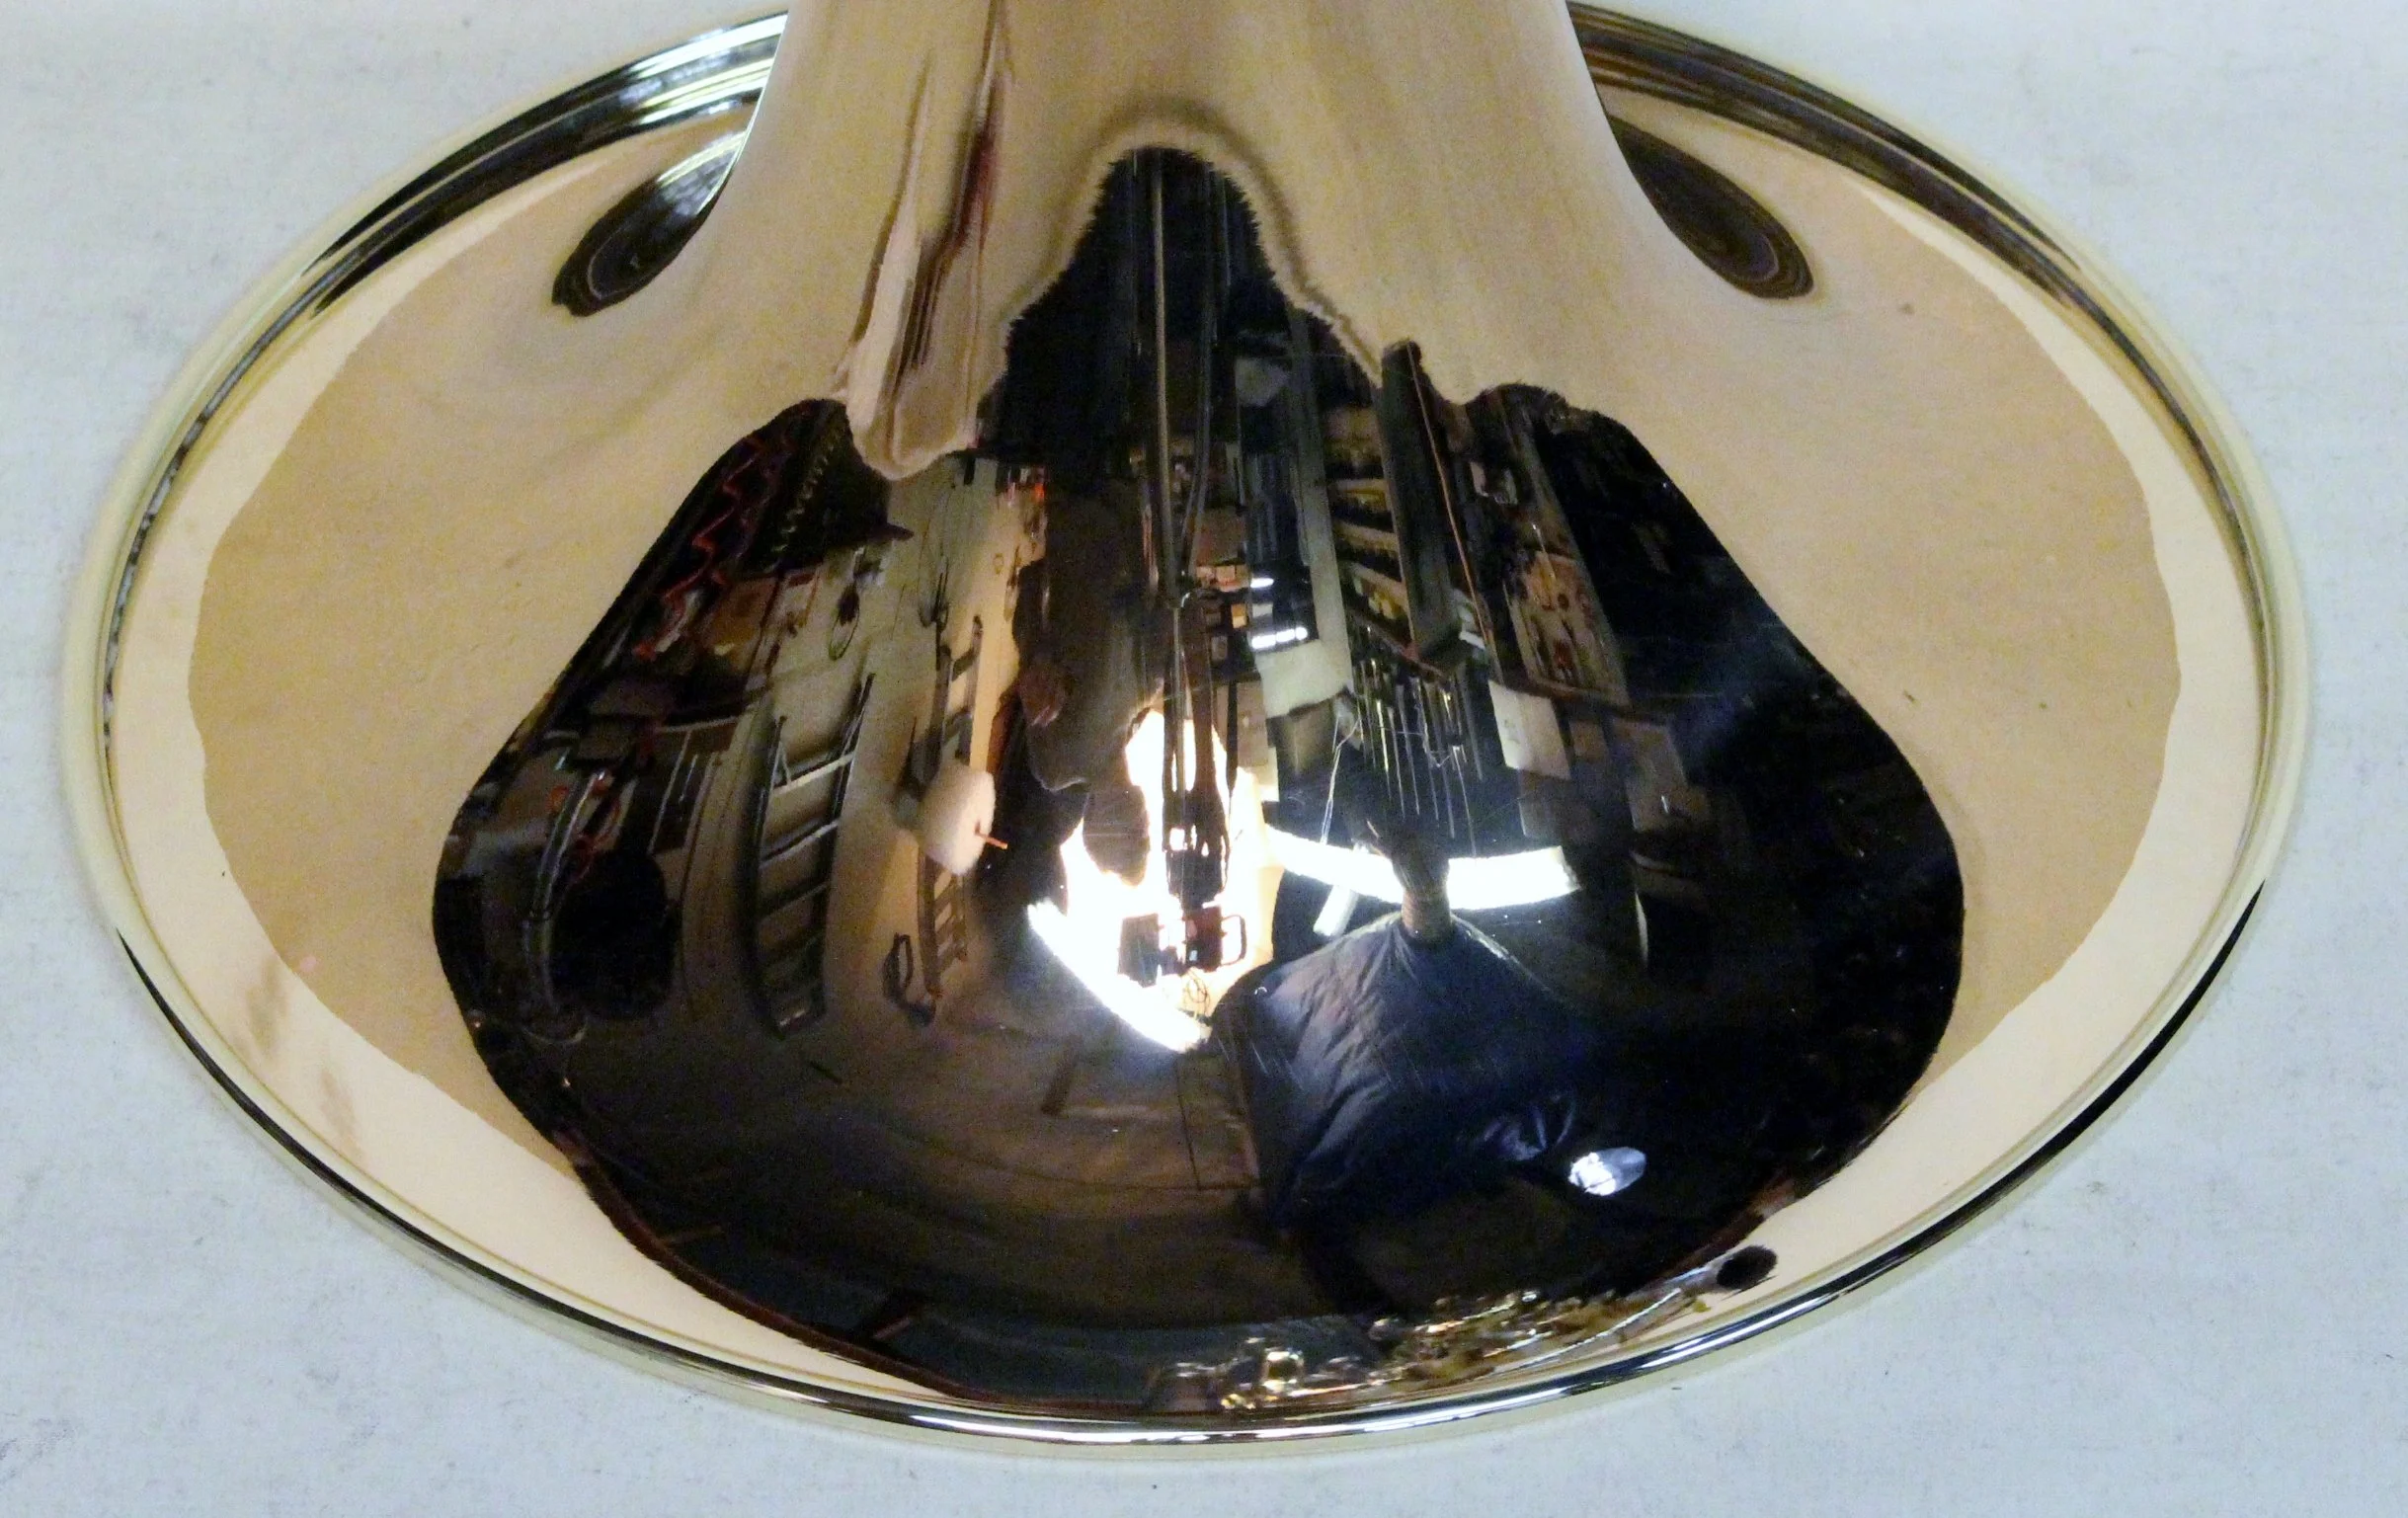
The last two photos show it after polishing. A close look at the sixth photo reveals that the solder line, including bubbles is clearly visible, although if you are not looking for this, you are unlikely to notice that the rim is a soldered on rod.