Patching Cracks, Splits, Holes etc.
I recently got a request for a topic for my "Mechanics" section from Kenton Scott of Horn-U-Copia.net, to cover repairing splits in conical tubing. Instead of being that specific, I will cover the more general topic of patching.
Obviously, when repairing modern student instruments, the most economical solution should be pursued. In these days, with increasingly expensive cost of labor, it is most often best to replace the problematic part. For the repairman that aspires to a higher level of skill, I would recommend practicing on these same student instruments. Besides, it would almost always be more economical to patch a split in a bell, rather than replace it. The customer may not care about the neatness of the job, but you can feel good about a job well done and have the skill available when a more important job comes along.
Since my specialty is dealing with historical instruments of varying degrees of importance, I tend to take a conservative approach. My preference is to preserve the instrument, without modification and to avoid using techniques that are not reversible or will otherwise shorten the functional life span of the instrument.
Instruments made before about 1900 in the US and much later in some other countries, are made up of tubing with seams. The cylindrical sections almost always have butt seams and when this corrodes from use and age, it can become very weak and will easily split. Even the overlapping seams in bells and other large tapered sections can erode to the point where they could leak and are often split from extreme damage or unskilled repair attempts.
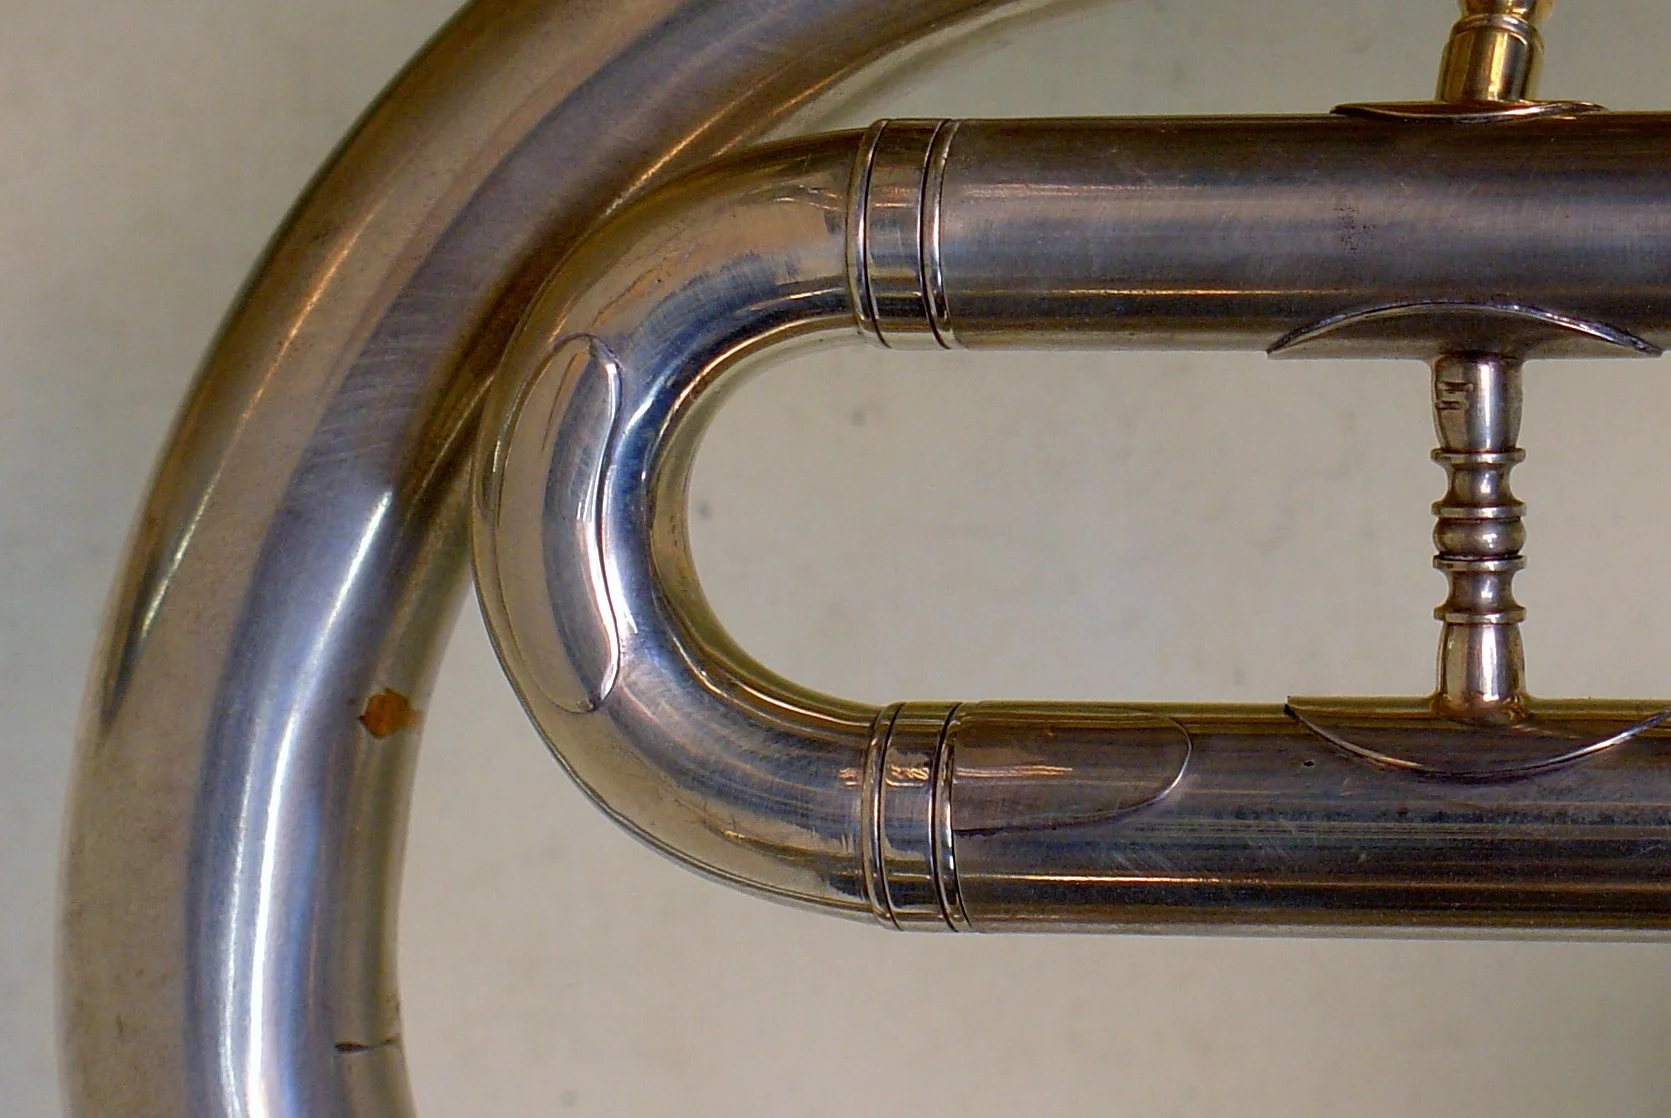
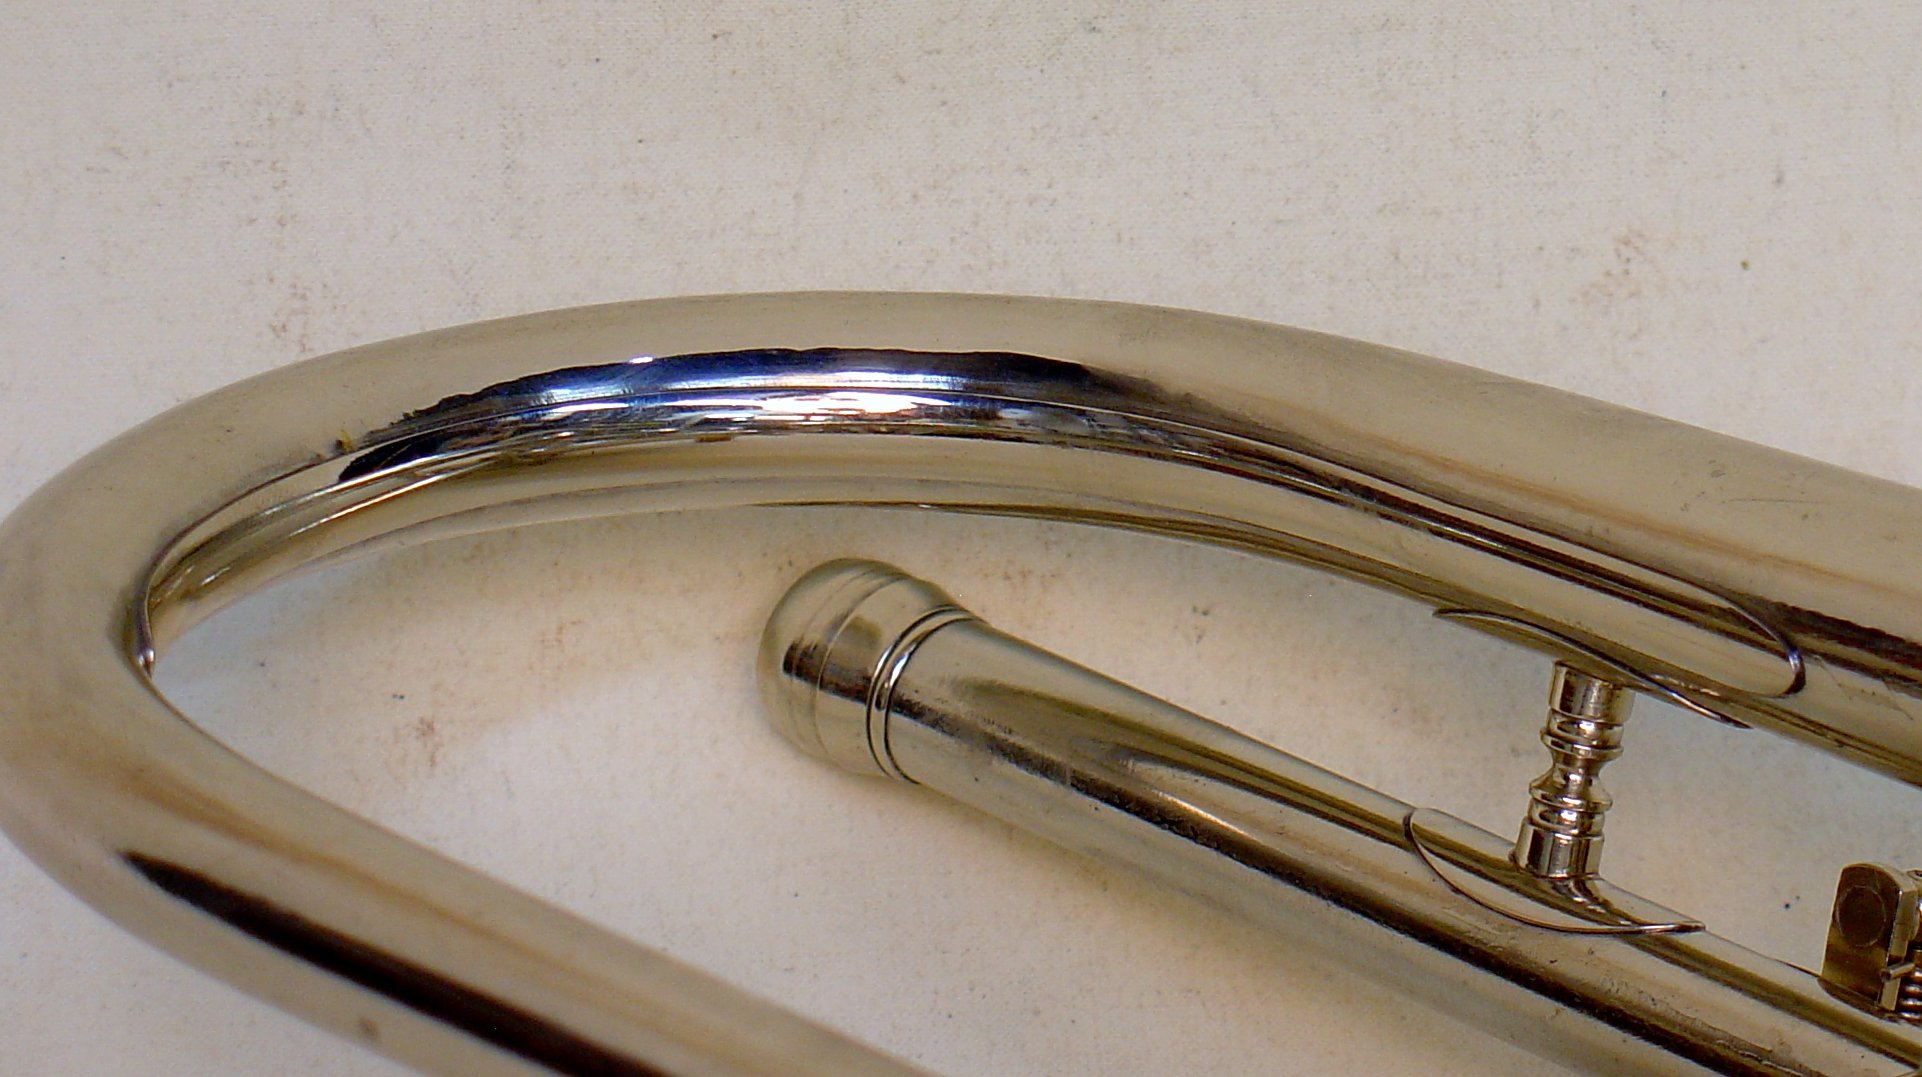
The photos illustrate the most common types of splits that I deal with. The first shows two different situations. The end of the outside tuning tube has split along the seam. For a museum display, this could be left alone, since it doesn't detract from showing the instrument as it was/is. It could be silver soldered as described below, but that repair is not reversible and will anneal the tubing, weakening it and it would almost certainly be stretched accidentally in the future. A neat patch over the split seems the best solution. The tuning crook has split on the side from repeated bending of the old, brittle tubing. Again, this could be silver soldered, but in a historical instrument, my preference is a neat looking patch.
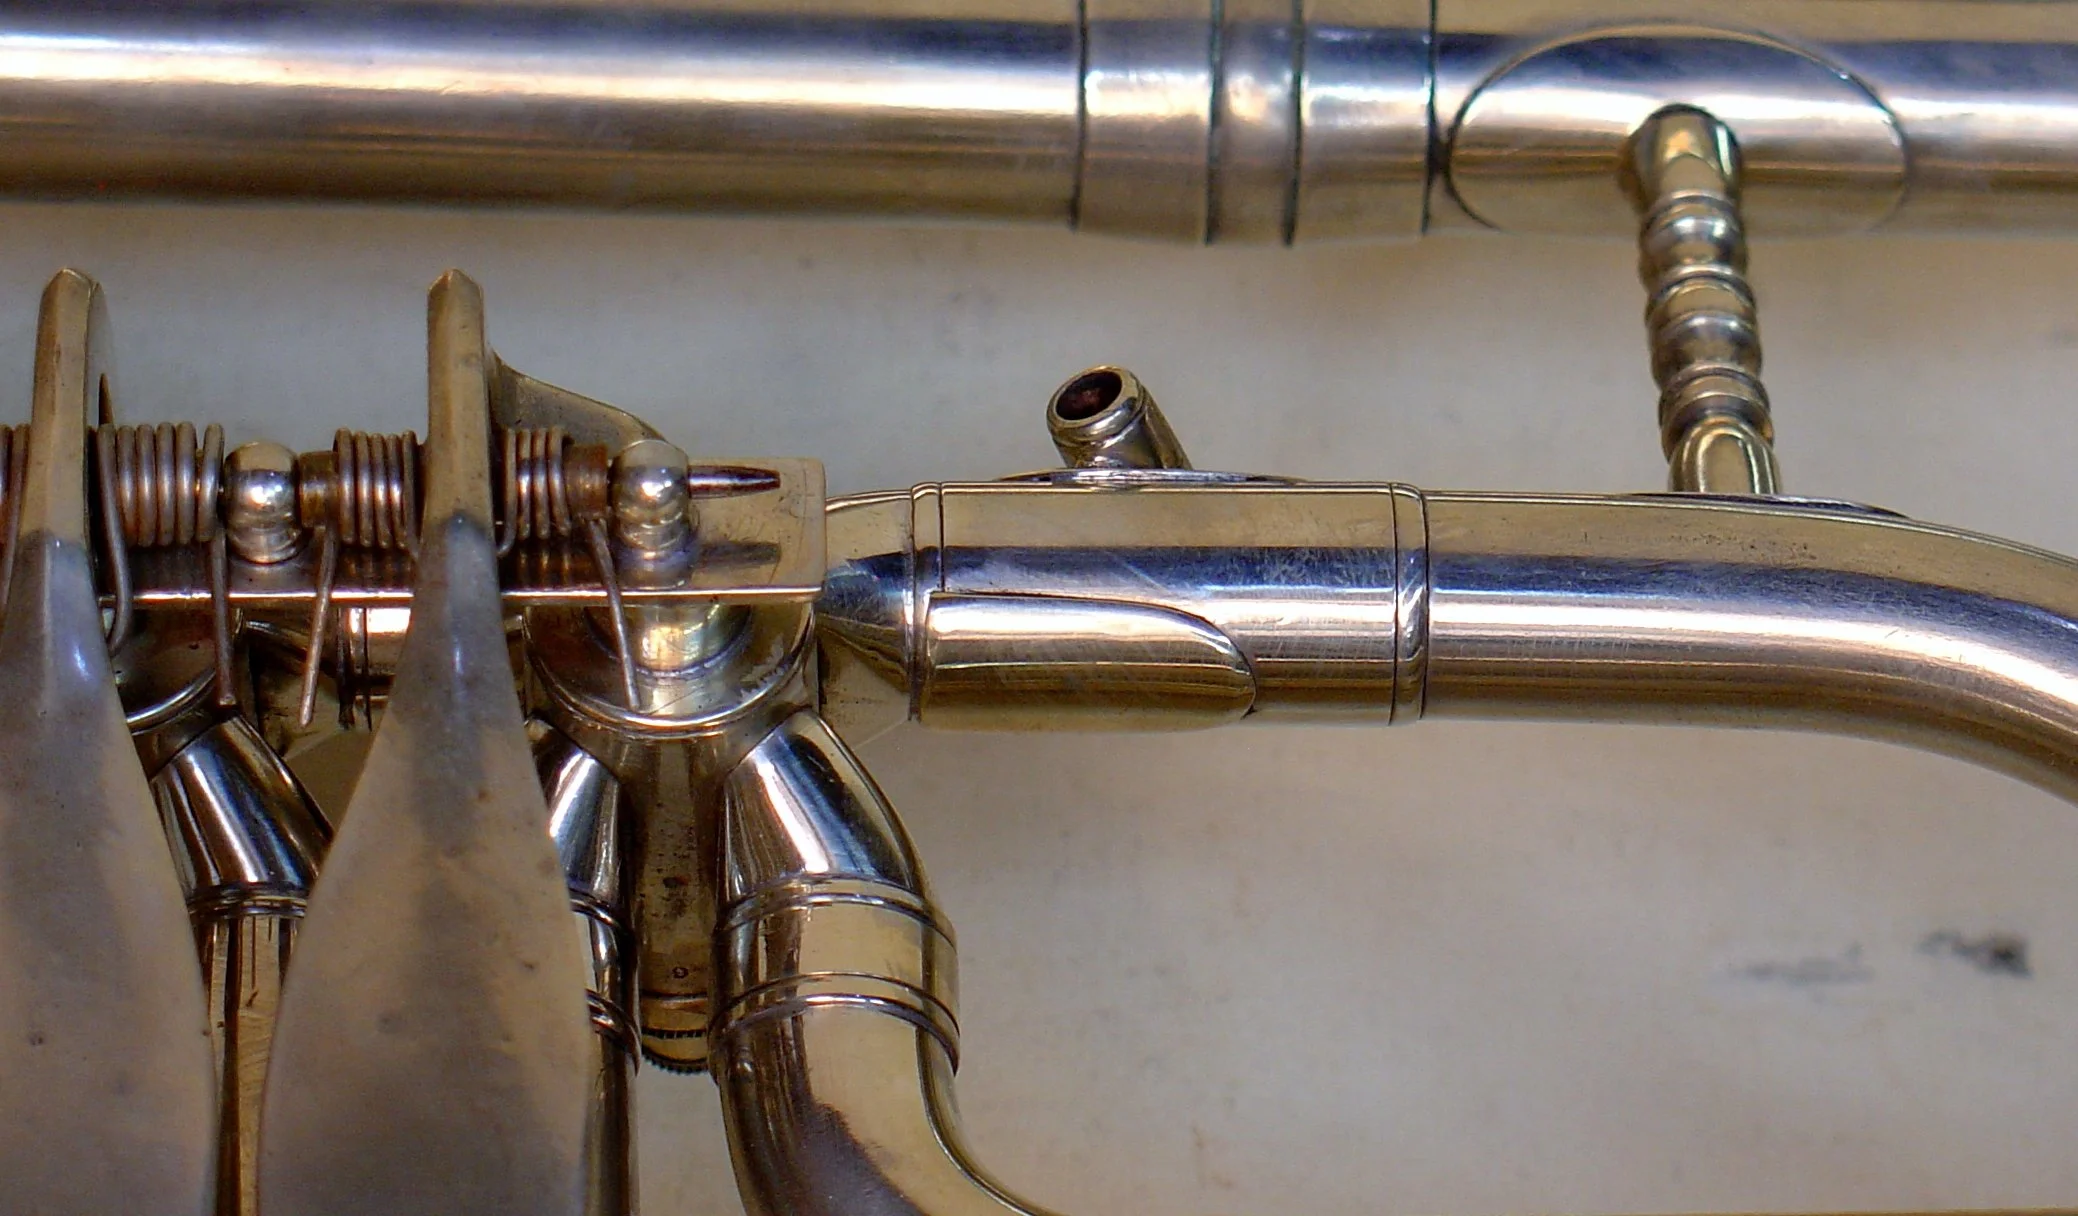
Next is a split in the seam of a ferrule. It is sometimes possible to wire the split together and solder it in place with low temperature silver/tin solder, carefully cleaning excess solder without opening the split. This would be an inherently weak joint, but satisfactory for situations involving display or light use. The patch adds strength.
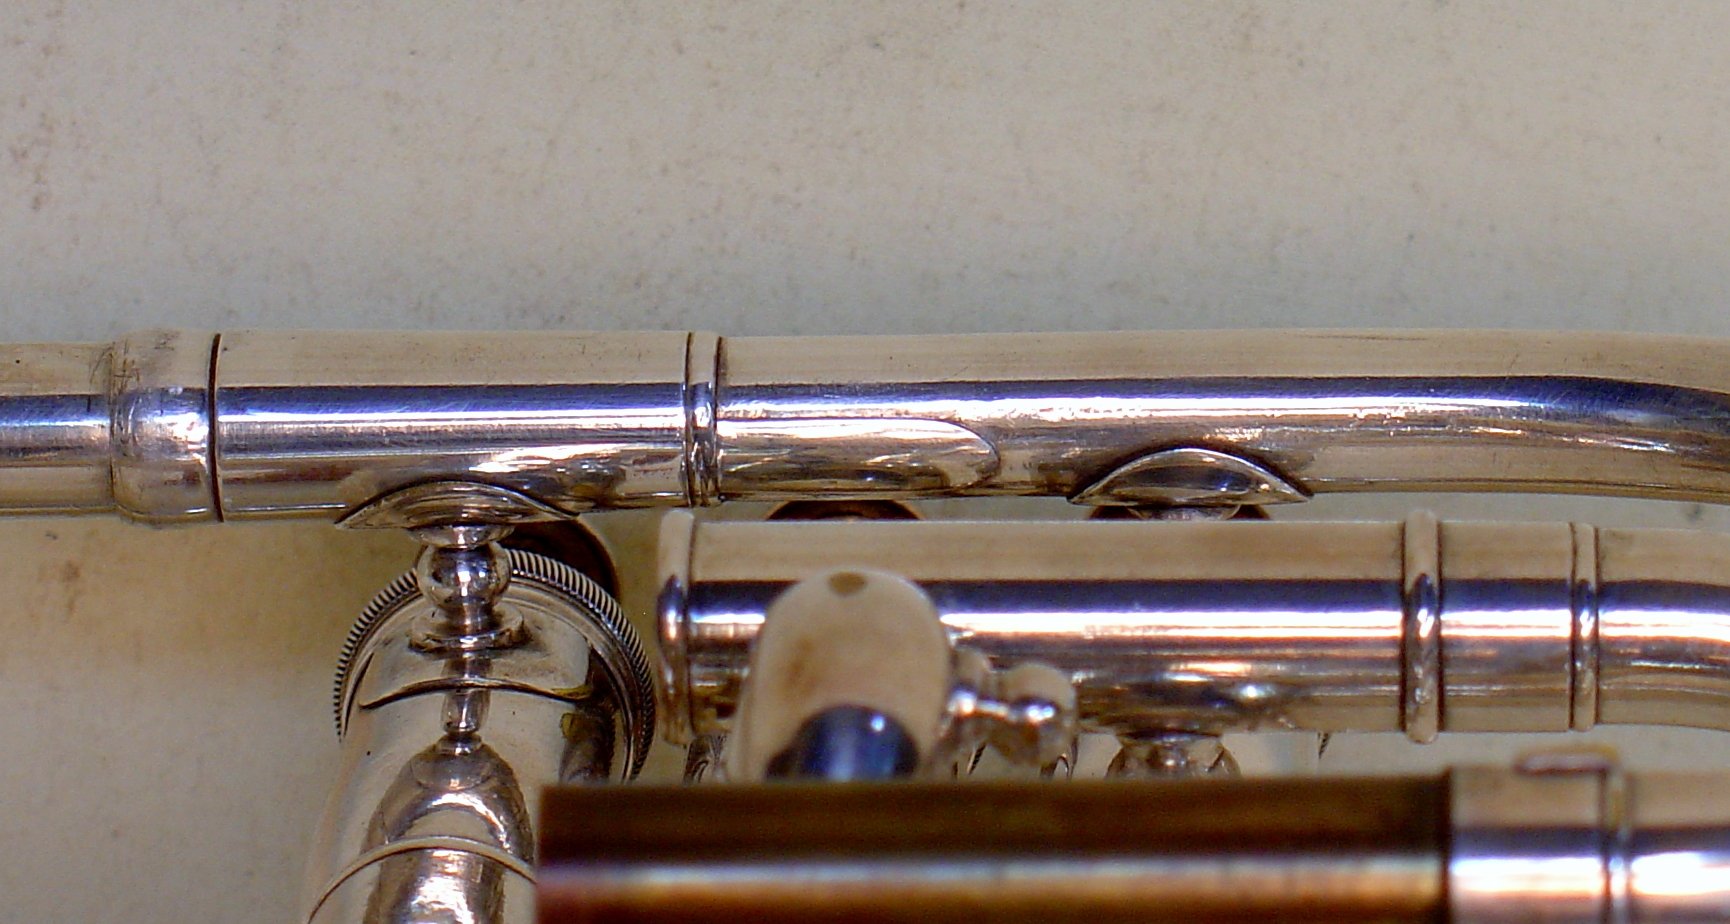
So far, I've used the same material as the instrument (brass or nickel silver) for these patches. On a silver plated instrument, especially with an original finish that is very old (this Distin was made in London in 1868) or important historically, the patch can be made from Sterling silver. Sterling is expensive when compared with brass or nickel, but a small sheet of silver can be purchased from a number of suppliers such as Indian Jewelry Supply for a small investment and will last for years of patching.
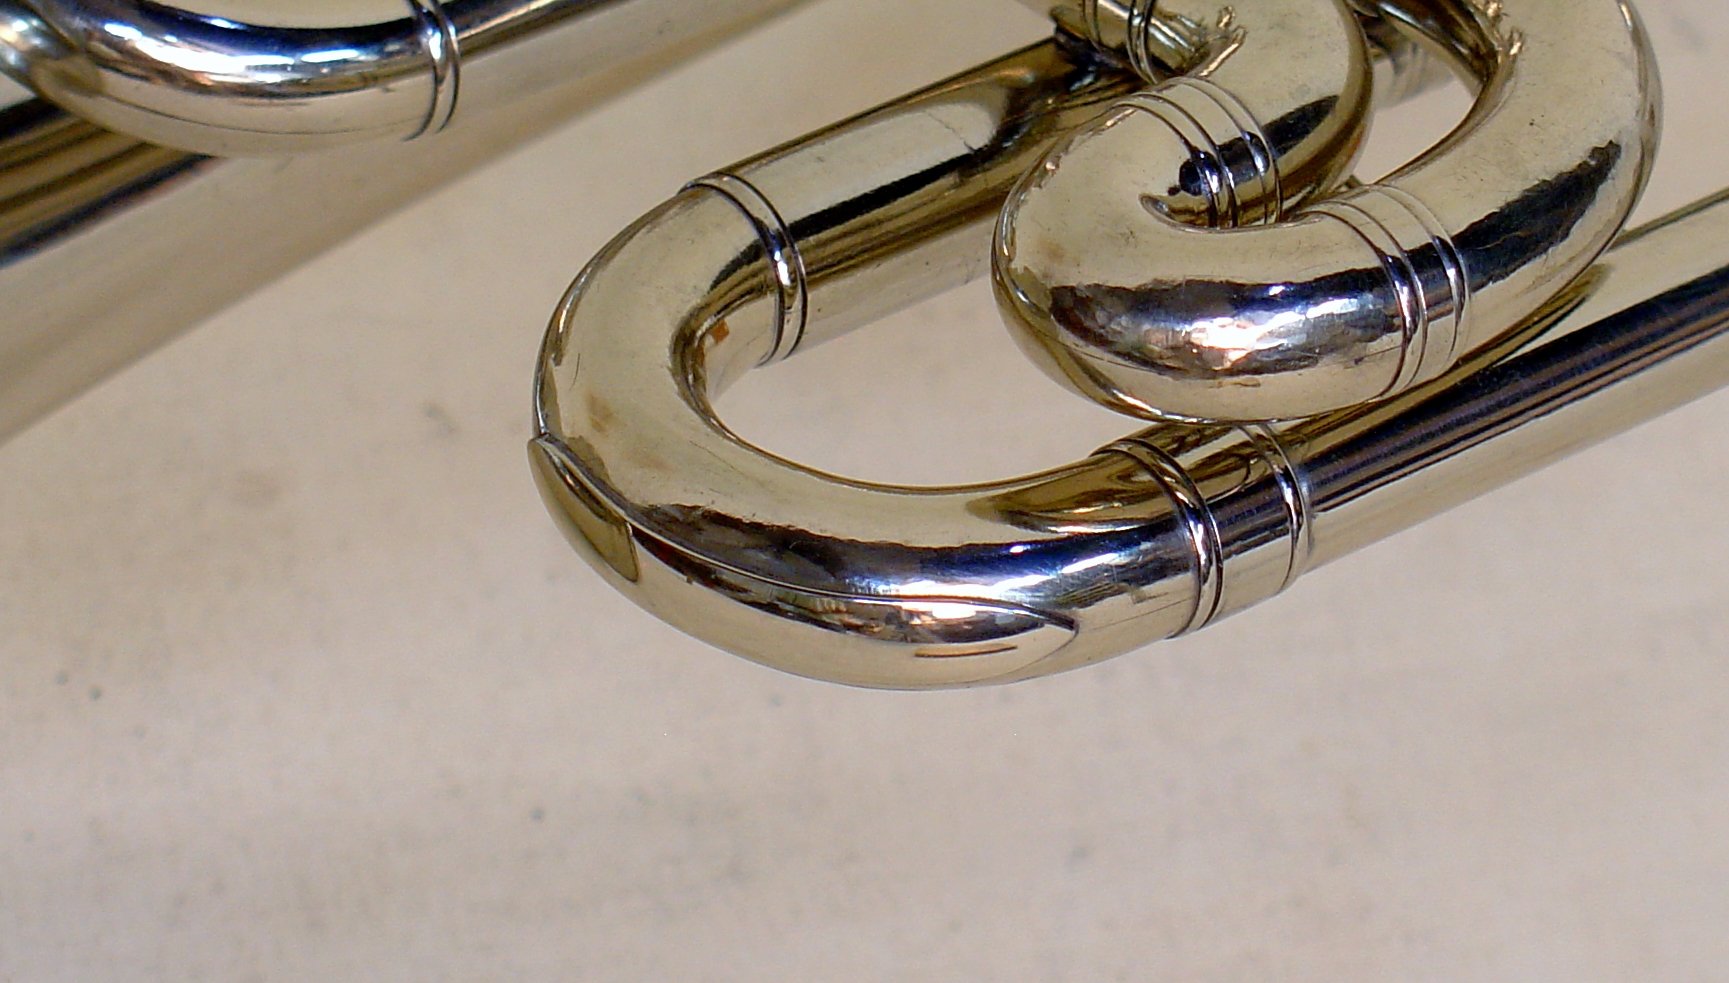
Next is a patch on the outside curve of a crook. The most common method of making small crooks before about 1880 was to form halves and braze them together. Even minor damage to these crooks can result in a split along the seam. To make matters worse, there is always some brazing metal (sometimes a very large quantity in lower quality instruments) on the interior of the crook, preventing satisfactory removal of dents. A lot of judgement must be used in how much force to use on these dents and then what technique to use to cover the splits.
There are some cases, especially on the interior curve of these small slide crooks, when I will resort to silver soldering, but most often, the best choice is a neat little patch. These tend to be the least visually noticeable, anyway. The fifth photo down shows a very long patch on the interior curve of a bell. This very rare D.C. Hall Orchestra Cornet had been damaged, badly repaired and then damaged again. It appeared that it was repeatedly thrown on a hook or such to hang it on the wall, flattening and distorting it from the inside curve. It was already cracking in a number of places and even the most careful dent removal opened up more. The only possible solution seemed to be to make this very long patch as trim as possible.
Next is a fairly involved and non-reversible repair to a very long split in an inside slide tube. This would prevent the slide from functioning properly without leaking and obviously a patch can't be applied. If this were a very important instrument or the instrument will be used for display only, then it should be left as it is, but in most cases, we want to make the instrument playable. If the split is very short, maybe 1/4" long, I would also leave it alone in most cases, but it can be silver soldered.
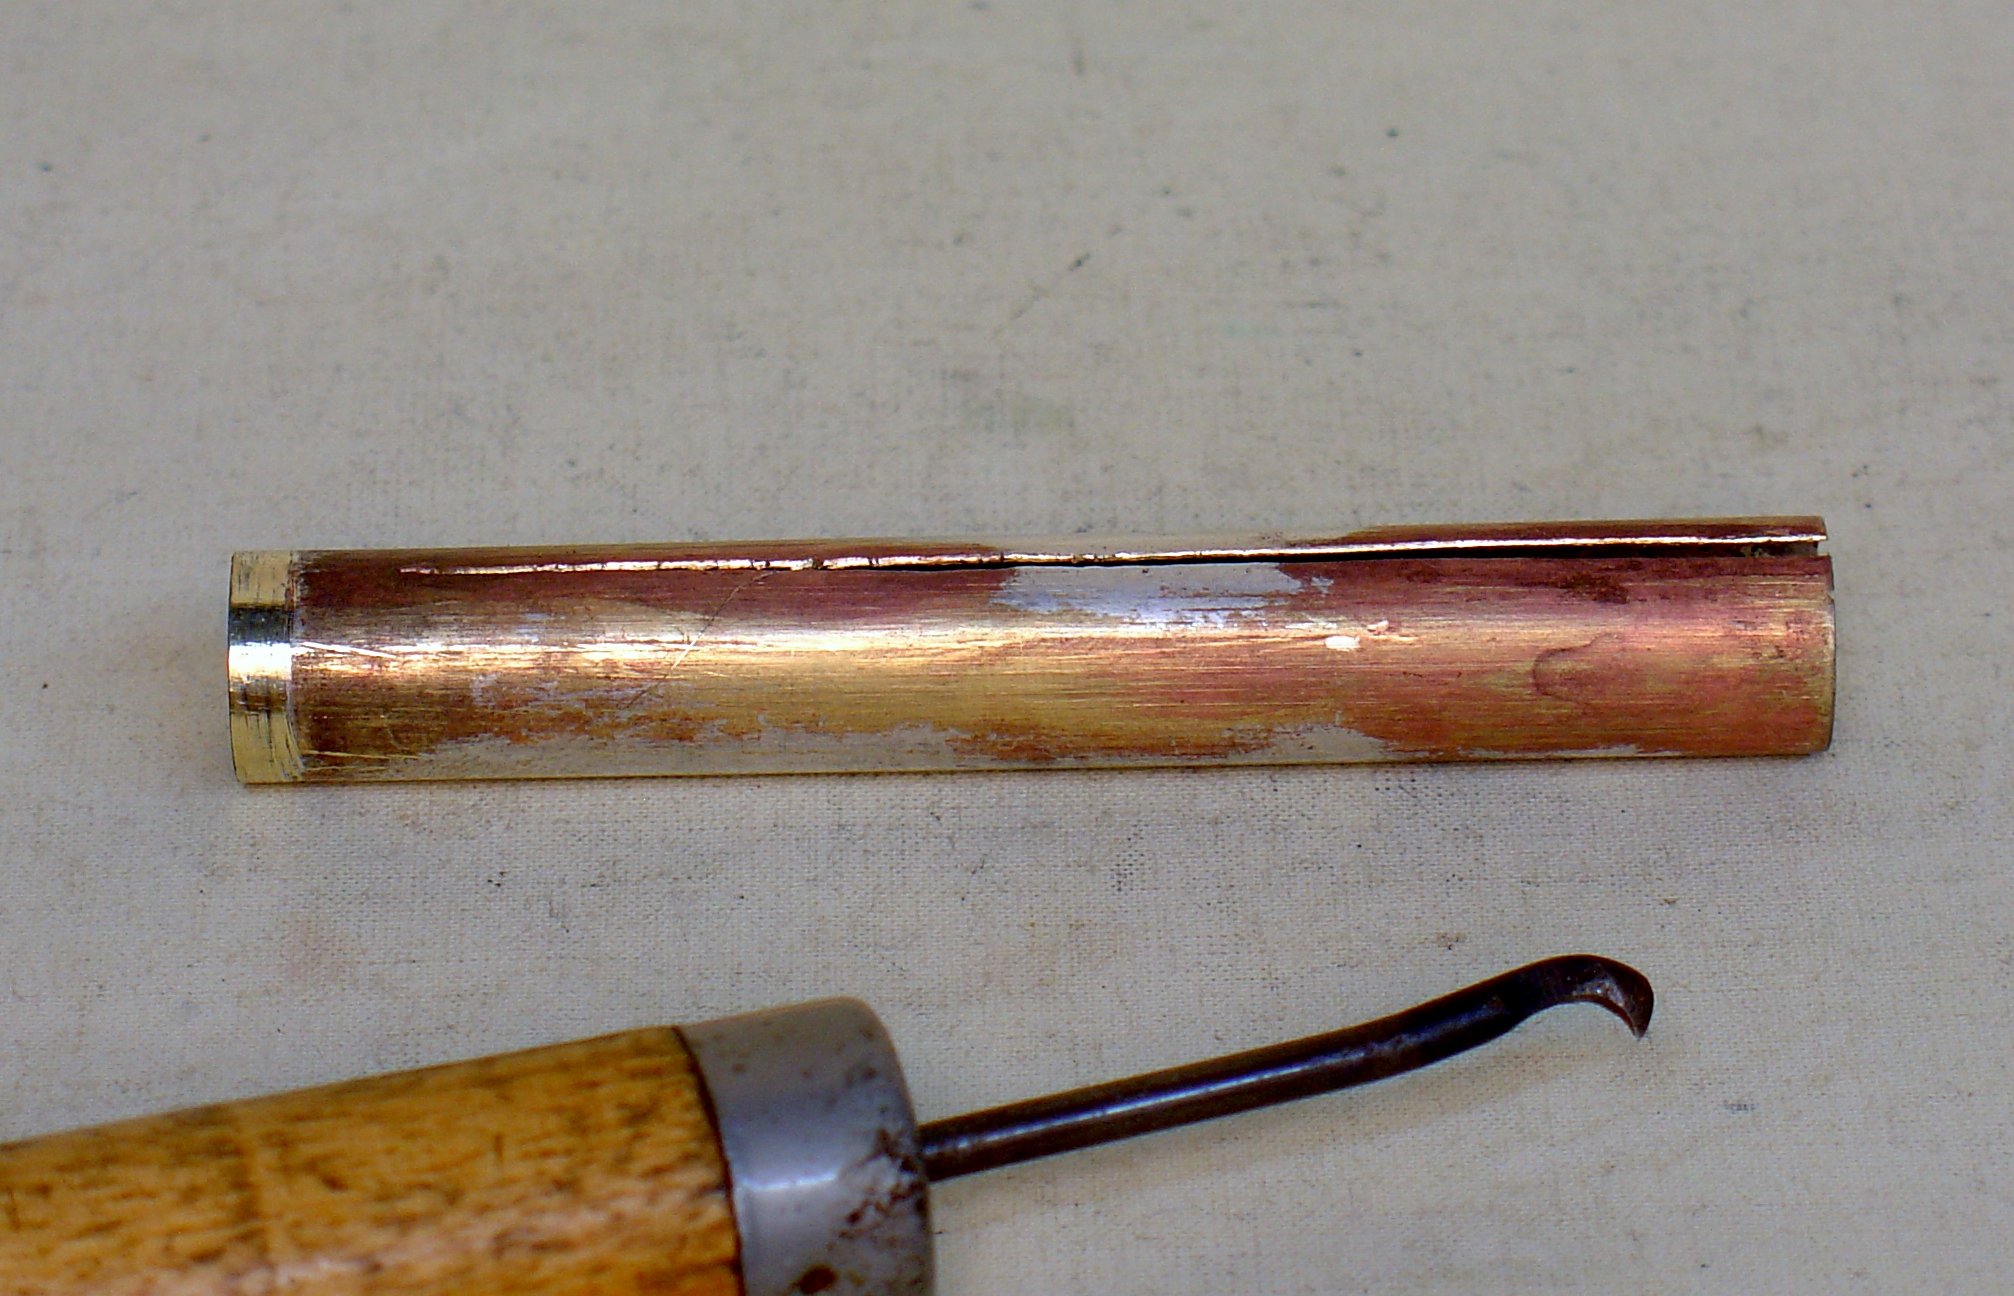
Another option, in the case of a short split in either inside or outside slide tubing, is to use low temperature silver solder. This is slightly stronger than lead soft solder, although much weaker than traditional silver solders and also has the advantage of avoiding annealing of the tube. It is also, more or less, a reversible technique and I have generally reserved its use for soldering split ferrules in place. In either case, the edges of the split need to be scraped to reveal clean metal. I ground a scraper to a point just for cleaning open seams. For silver soldering, all of the soft solder should be removed by scraping. This is much more easily dealt with ahead of time rather than the mess that results from the heat of the silver soldering process.


After wiring the gap closed and applying flux, silver solder is run into the split. This was not one of my neater jobs of flowing the solder; it took some effort to get the solder flowing thoroughly into the joint due to the presence of residual corroded brazing metal on both sides of the joint. Nevertheless, it cleaned up fine.
At this point, the tubing is out of round and otherwise distorted and will need to be manipulated to produce a straight, round tube. On a steel rod small enough to easily fit, I burnish the length of the tube with a curved burnishing tool or a ring as shown below. To increase the tube's diameter, use a burnishing tool with a larger radius. Burnishing the tube will regain some of the hardness that was lost from annealing while silver soldering.
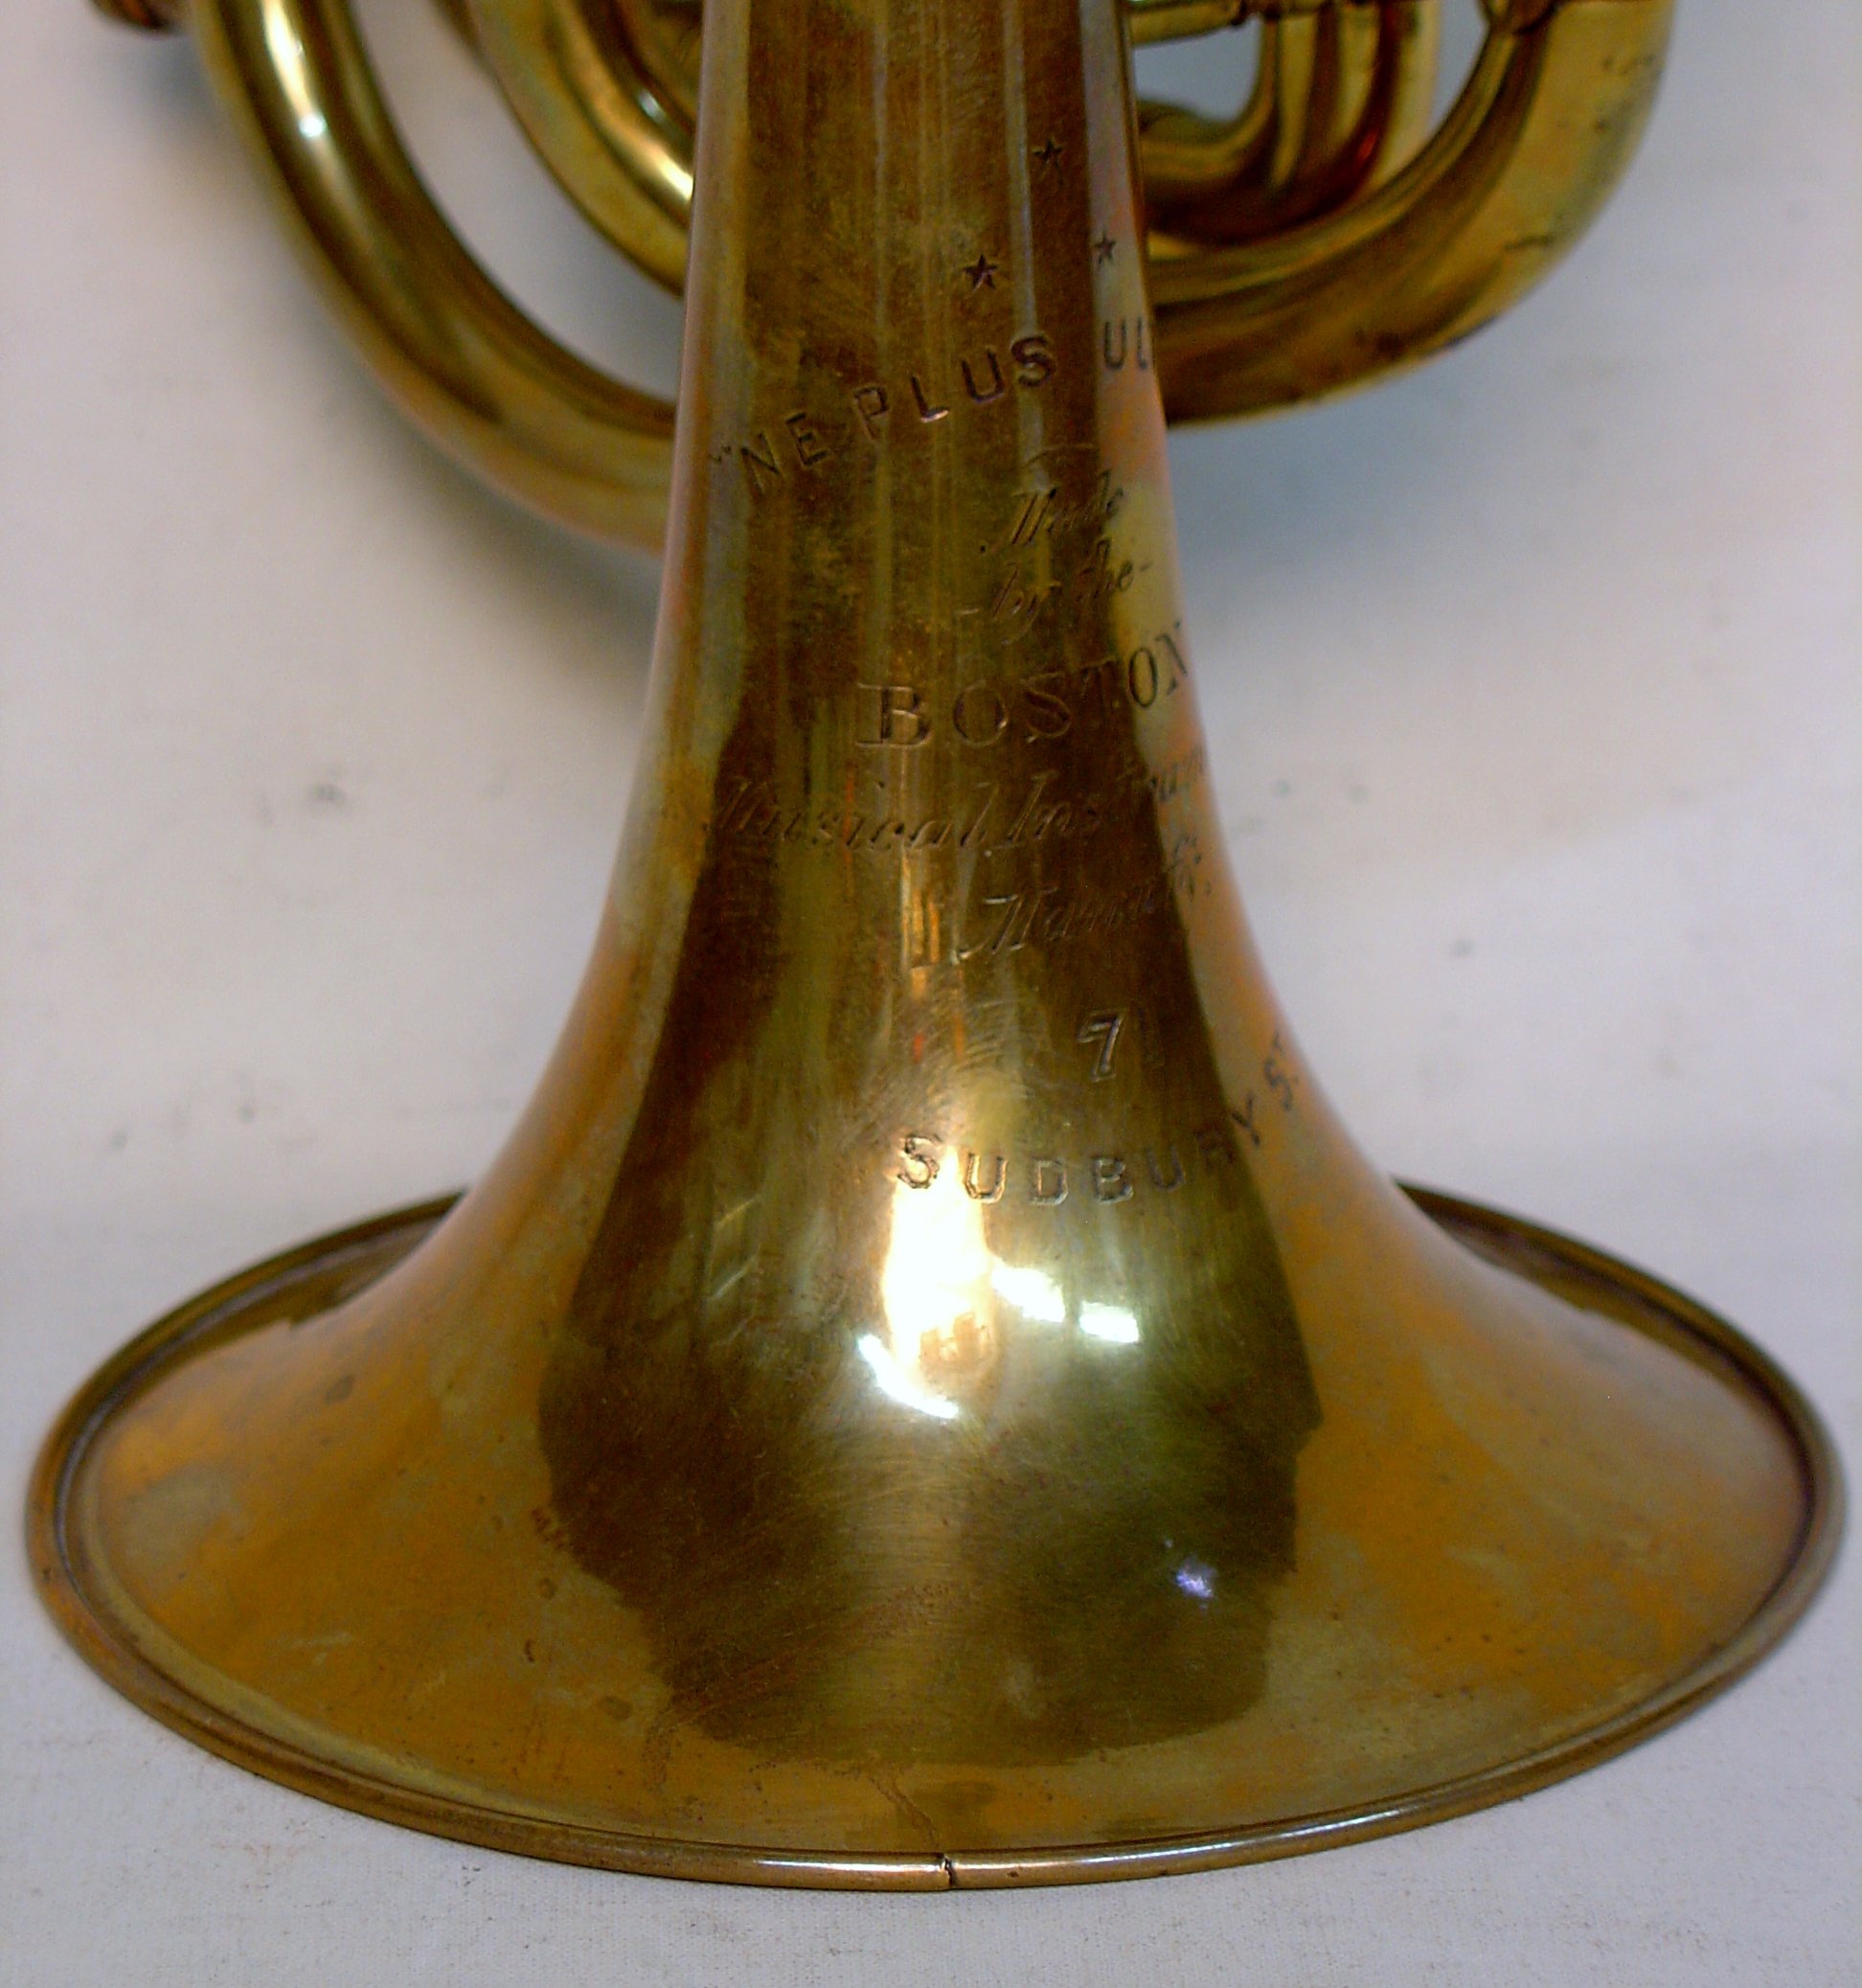
The last case is always a heart breaker when seen in an otherwise interesting instrument. Often the bell rim will break right through if it is badly damaged. This case is especially maddening because it is of very high historical importance and was dropped, causing this crack, by the previous owner only a few years before I acquired the instrument. It is the prototype of Henry Esbach's 1879 patented Boston Three Star cornet. A patch can be wrapped around the rim and soldered, but it would add little strength and be more unsightly than the crack. Some repairmen will silver solder this sort of damage, with varying success, but I have never seen a case where the result was better than the damage. When applying enough heat to melt the silver solder, the soft solder in the rim sprays out all over the bell and also mixes with the silver solder. The resulting over heated and crystallized soft solder can't be easily removed since it is now harder than tool steel and can only be removed with a carbide scraper. The silver solder/soft solder mixture is not as strong as silver solder by itself and the joint is always at least somewhat unsightly.

One of the most common need for patching in a typical repair shop is the valve knuckles or crooks that have worn through or too thin to hold up under normal use. This curved patch can be formed by forcing an annealed piece of brass into the shape gouged out of a block of wood or formed in a lead block. I most often use Cerrobend now, which is easily formed by pressing an oiled crook into the metal while still molten. The most time consuming task is fitting it neatly between the valve casing and adjoining tube as seen below.


In some cases, I will cut a piece from an existing crook of appropriate radius. Since it will usually need additional forming, I will then anneal it. Using a file or belt sander, carefully removing a little at a time, this is then fit between the valve casing and ferrule, then soldered in place.
I use a bit of judgement when deciding on how to deal with splits in the bell flare. The closer the damage is to the rim, the less effect that it will have on the acoustics of the instrument and I will most often decide to not cover splits in the last three inches or more of the flare in a cornet or trumpet and the equivalent in larger instruments. Patches here are quite unsightly and silver soldering will introduce the same problems described above and in the last paragraph below.
More complicated patches can also be cut out of existing parts. French horn bells yield patches for bells that you need to save. There have been a number of cases when the quickest technique to form a large curved and tapered patch is to make a tapered tube, fill it with pitch and bend to shape, just so I can cut a section out of it. The seam only has to be good enough to contain the pitch and not give way when bending. The photos below show this process used to save the bell on and extremely rare Bb cornet by Wright, Gilmore & Co. from George Foreman’s collection.


Straight patches are easily made by burnishing an annealed strip of brass, nickel or Sterling on a steel mandrel that is a bit smaller diameter than the tube to be patched, using a curved burnishing tool or ring as in photo ten. The resulting strip can also be curved around a crook as seen in the forth photo above.
At the risk of loosing the few readers that have gotten this far, I want to comment on the excessive use of silver solder. I have heard the claim that certain repairman can cure any crack, split or thin spot using silver solder. I have often had to deal with the results later. Removing dents can be impossible where silver solder has flowed to the interior of the tubing and new cracks will almost always appear, needing patches to cover a larger mess.
In the case where silver solder is flowed over a thin spot, especially common in trumpet bells, the surrounding area is filed, sanded and polished in order to make it even with the silver solder pool and the area has been softened from annealing. When the whole area collapses from the player's grip, a patch must be applied to protect the area. This patch is inevitably larger than the patch that would have been appropriate for the original repair and would have protected the bell from any future erosion. I would prefer to extend the possible useful life of an instrument rather than provide a short term shine.
It is possible that my point of view, from which I've seen many more failures than successes, causes my criticism to be overly harsh. I have to admit that I have no way of knowing how many of these repairs are perfectly acceptable to the instrument's owner, but I caution the repairman to think of the long term survival of such an instrument. I know that we have all worked on pre-war Besson and Bach trumpets that have been sanded and buffed so hard that they have lost much of their structural and acoustical integrity. If, instead, they were treated with careful and thoughtful work, we might have had more of those great instruments to enjoy today.